

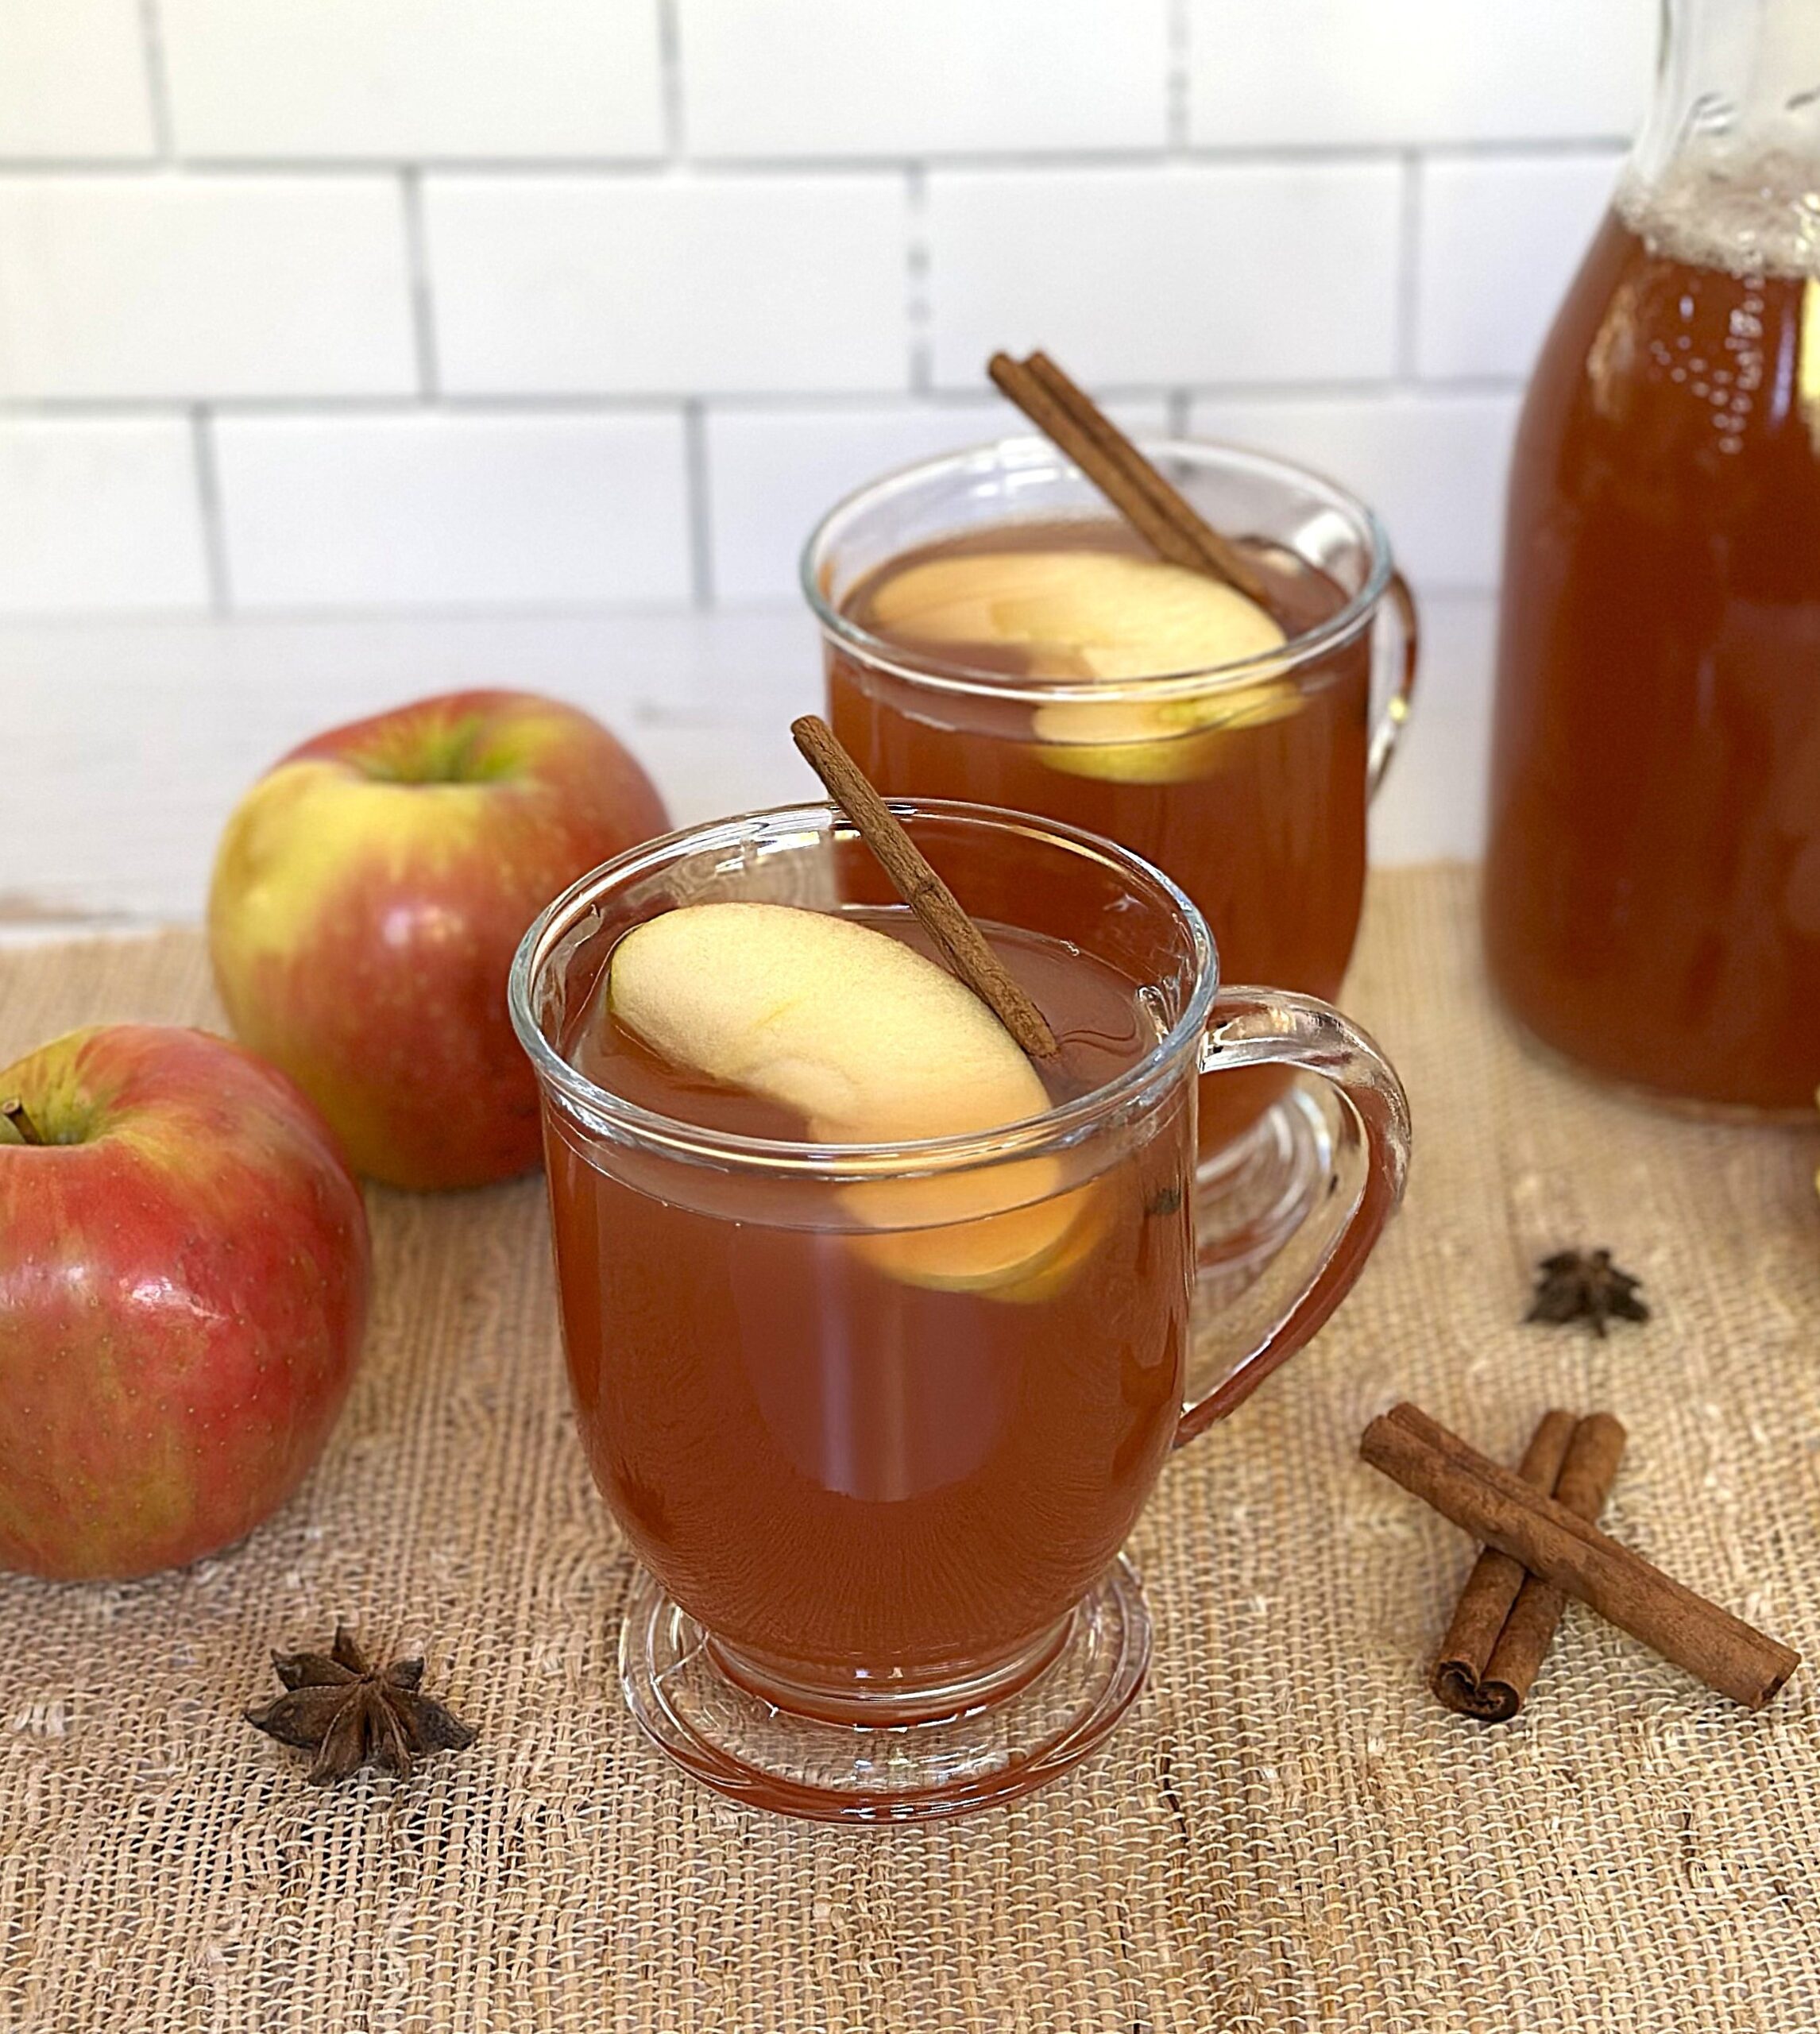
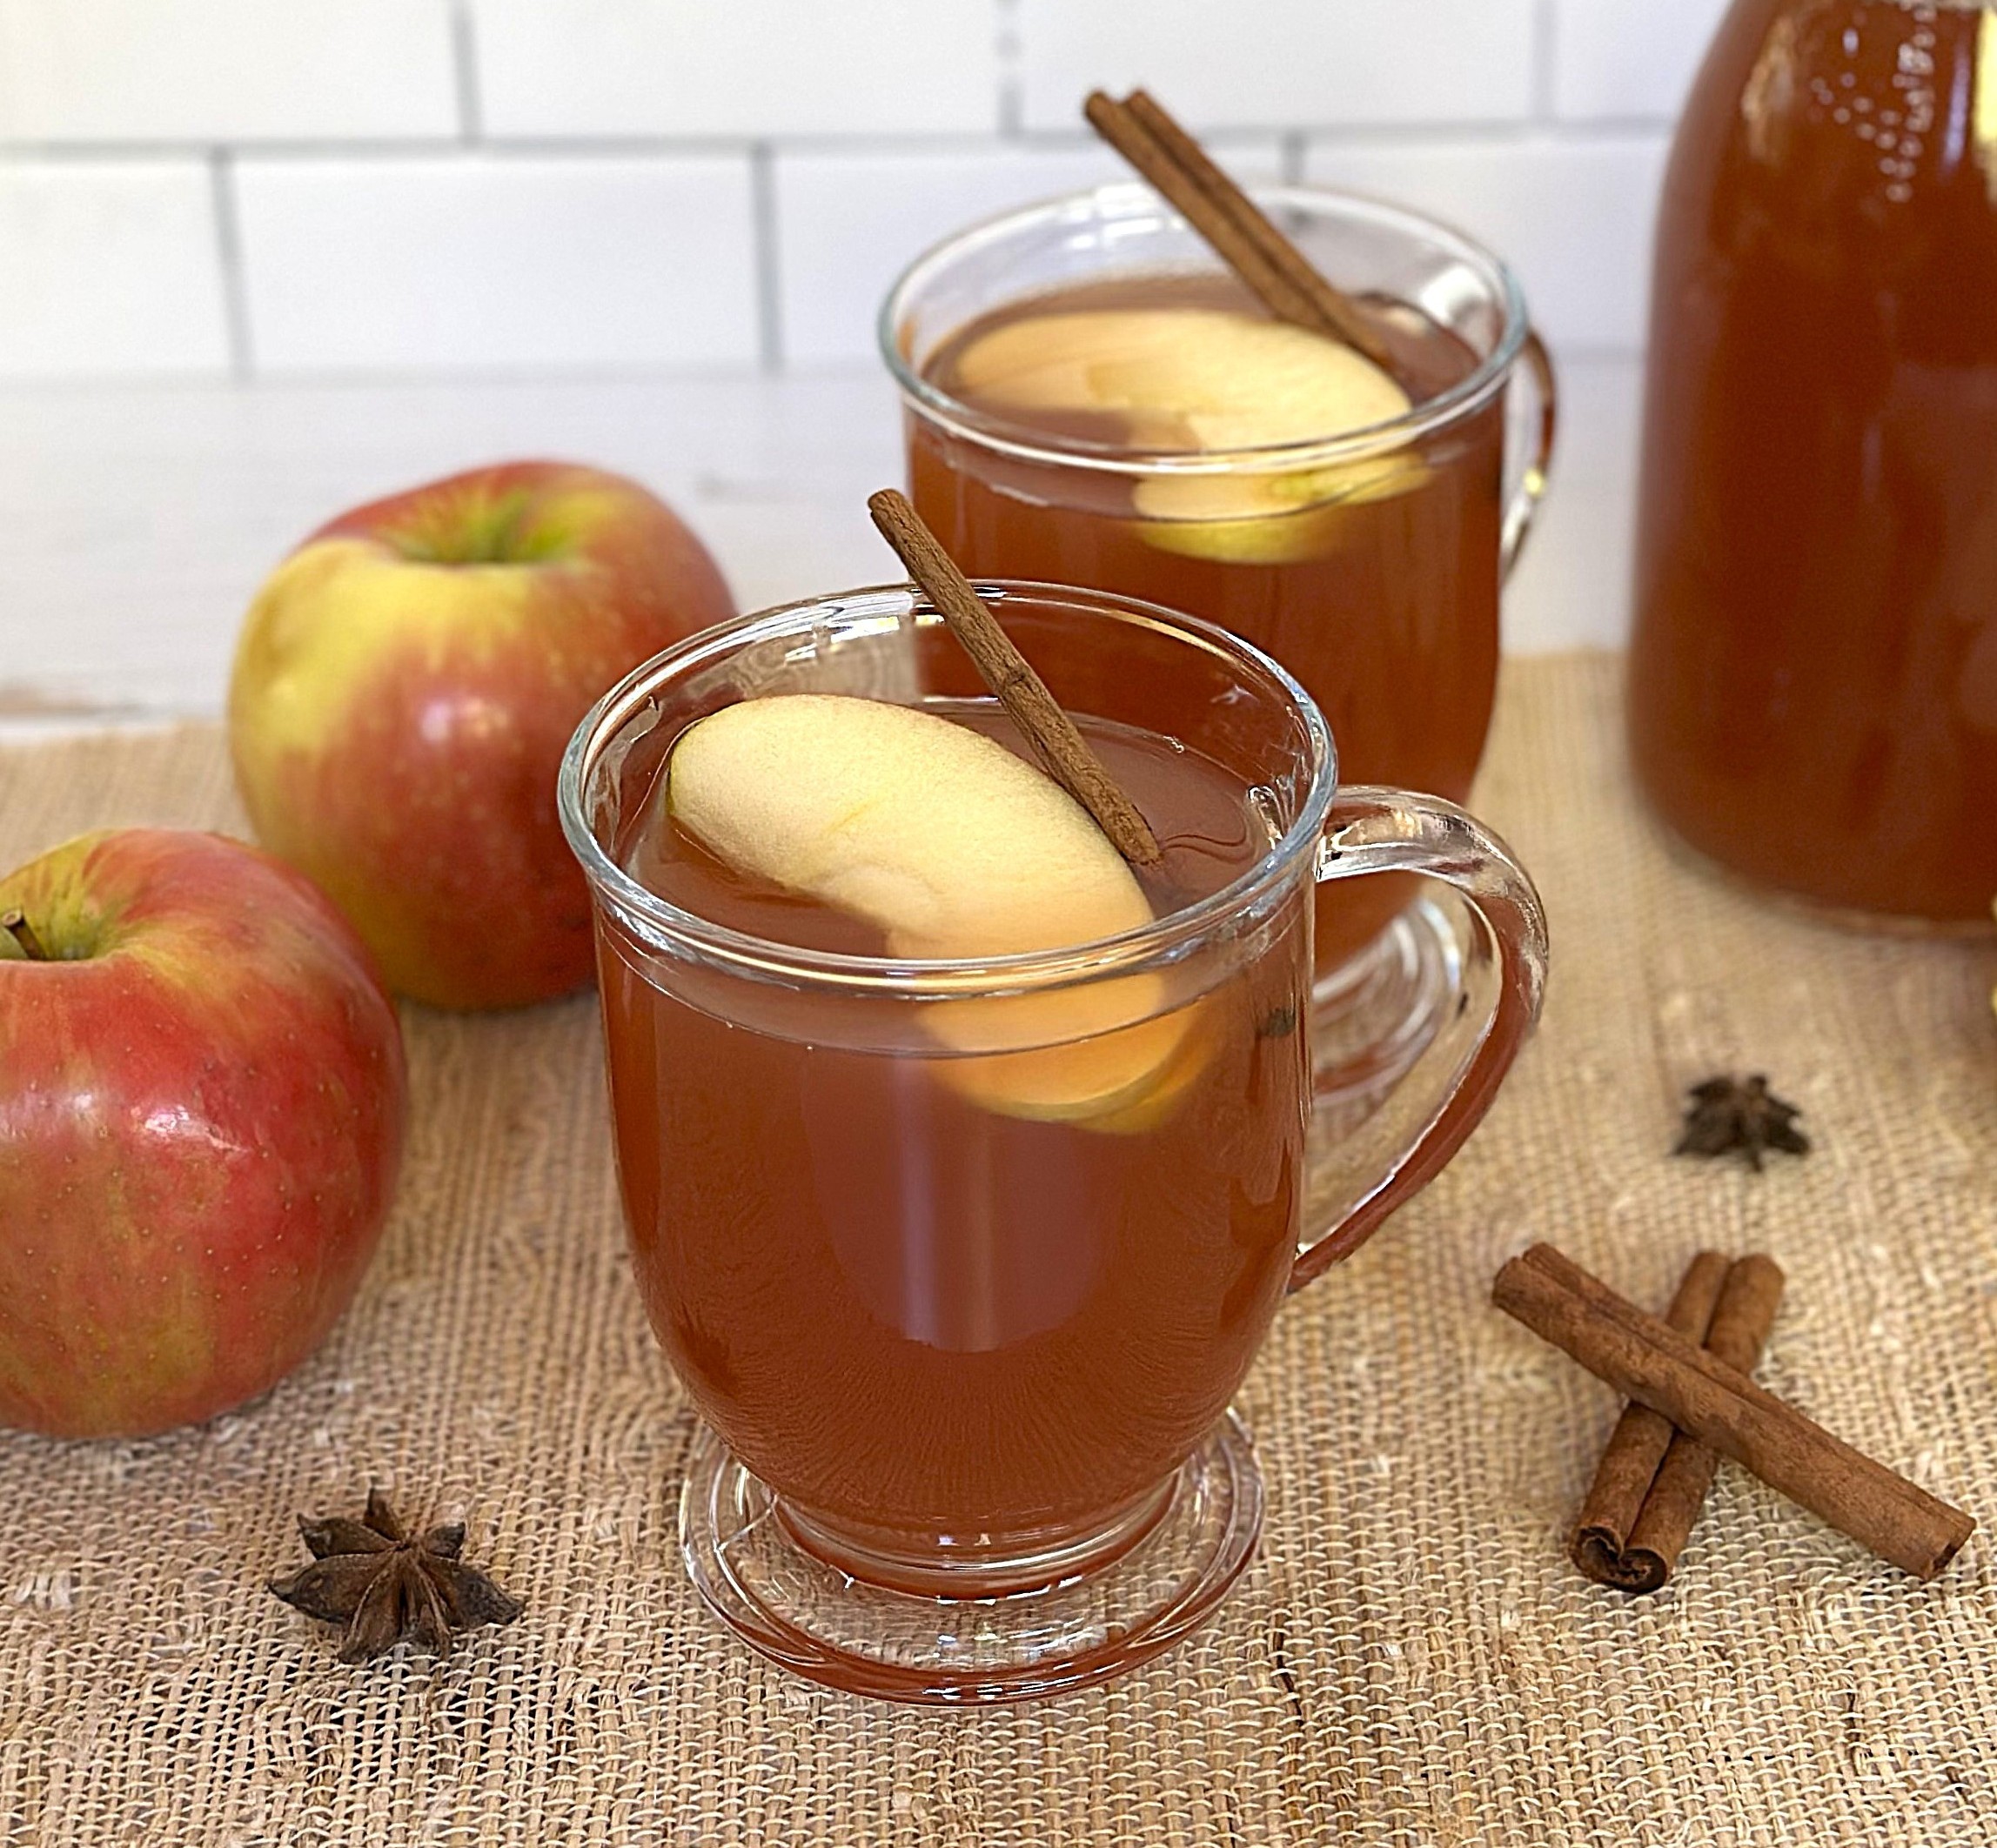
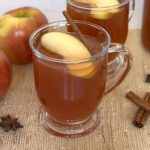
You will be amazed at how simple it is to make this Homemade Apple Cider Recipe! The best part is that it fills your house with the warm aromas of an autumn day.
This versatile cider is easy to make in a slow cooker or on the stove top. You can adjust your spices to make your cider sweet or spicier, depending on your personal taste. We love a rich, spicy cider that will pair wonderfully with our Pear and Walnut Cake and Easy Apple Crisp.
This post may contain affiliate links. Please see our affiliate disclosure for more details. We only recommend products we love and use.
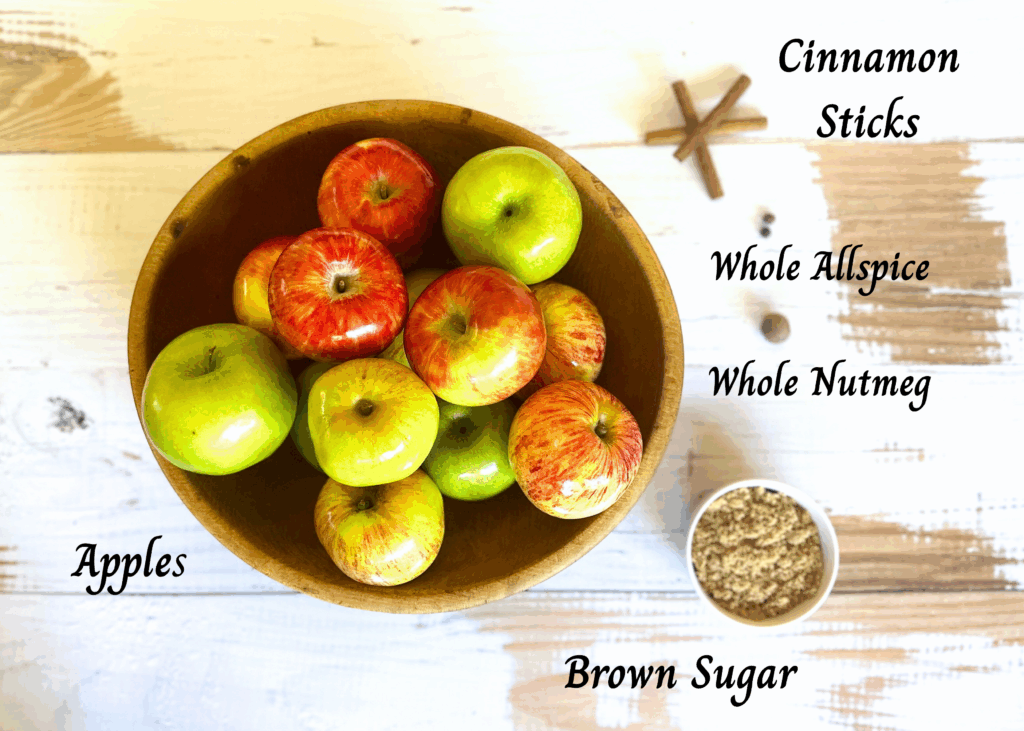
Ingredients for Apple Cider
- 10 to 12 Large Apples
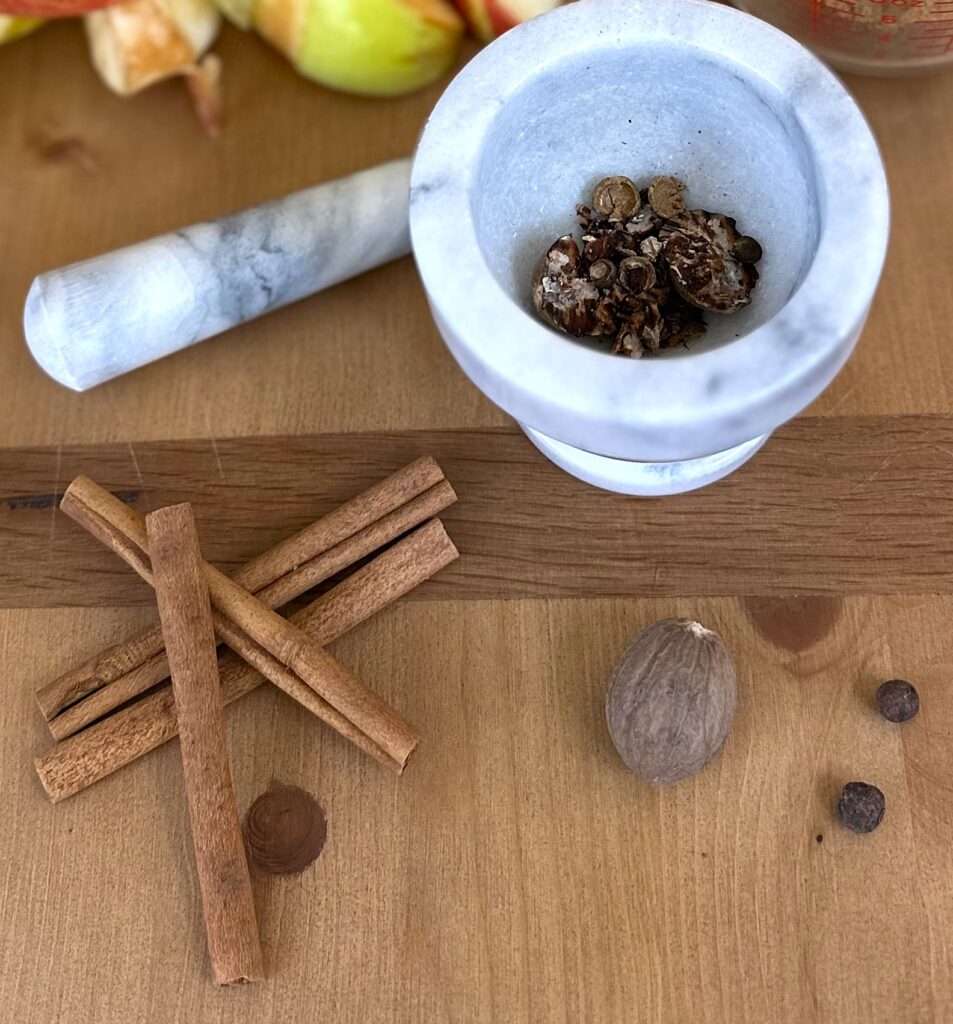
- Cinnamon Sticks - 3 to 4 sticks
- One whole nutmeg seeds or a pinch of ground nutmeg
- Two whole allspice berries or ½ teaspoon allspice
- Light Brown Sugar
- Water
(See the recipe card at the bottom for exact quantities of each ingredient)
How to make this Homemade Apple Cider Recipe
Jayne's Slow Cooker Cider
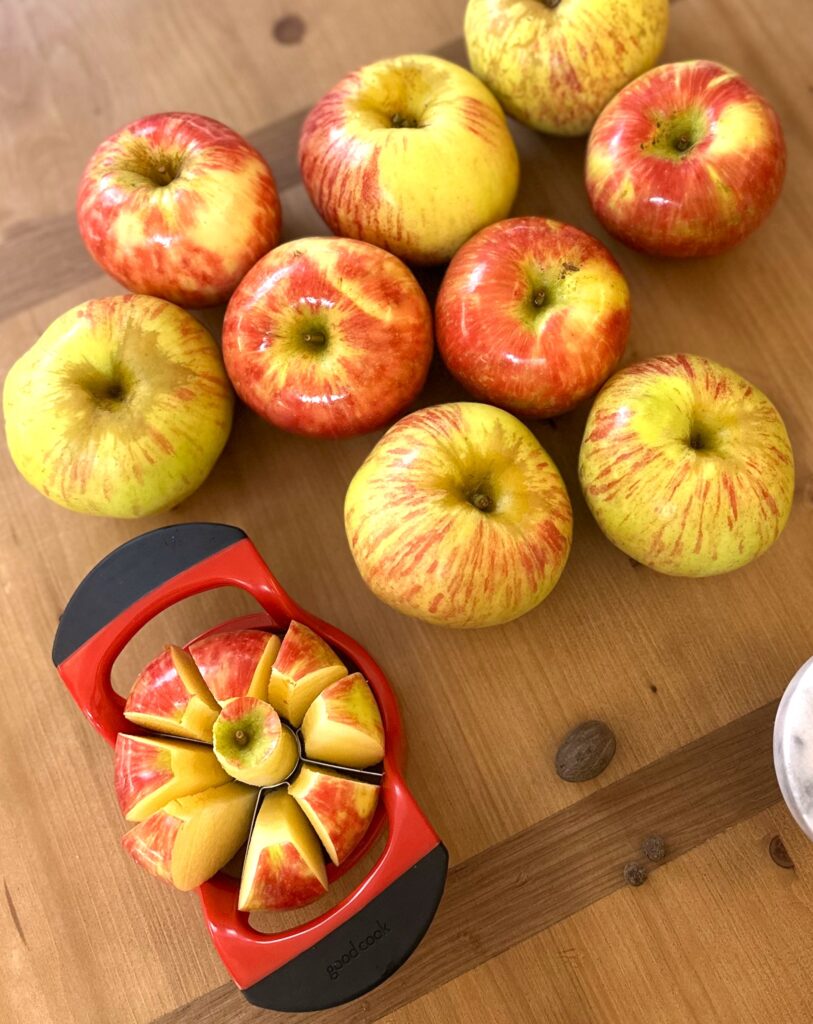
- Rinse, core, and slice apples, or use an Apple Slicer. It's fine to leave the peel on the apples.
- We are using whole spices for this recipe: one nutmeg seed and two allspice berries. We crack the seeds and berries open with a Mortar and Pestle. (see photo below)
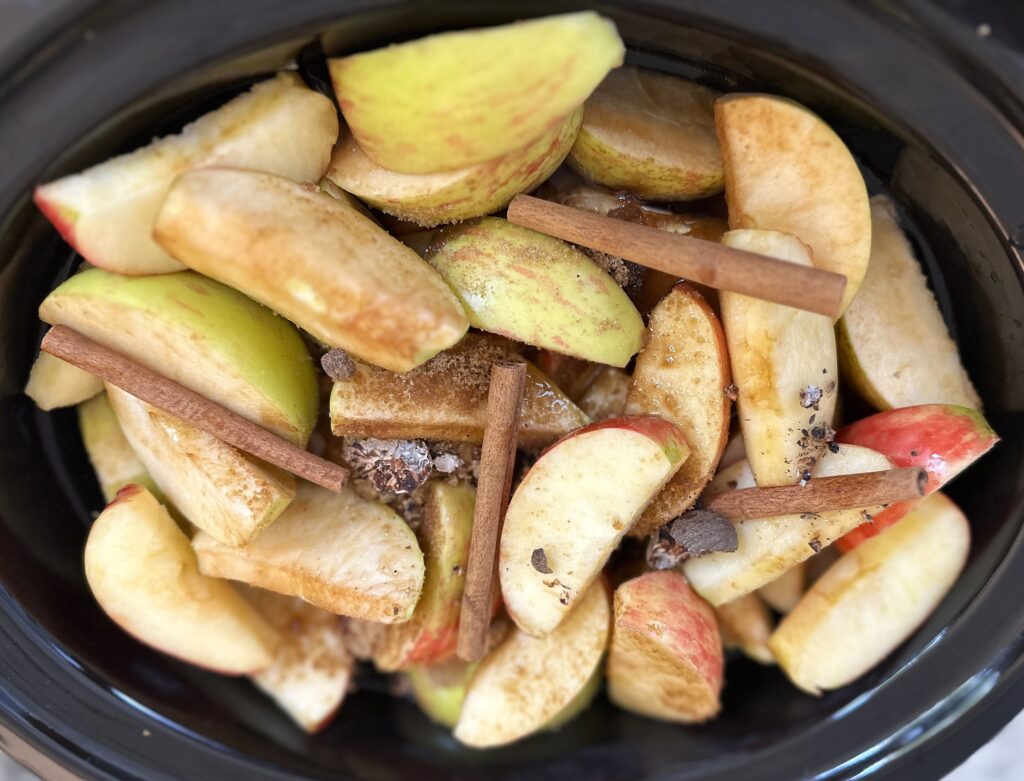
- Place the apples in a slow cooker along with the brown sugar, nutmeg, allspice, and cinnamon sticks.
- Cover apples with approximately 5-6 cups of water for a 6 quart slow cooker. The amount of water will vary depending on the size of your slow cooker.
- Cover the slow cooker and cook on high for 5-6 hours.
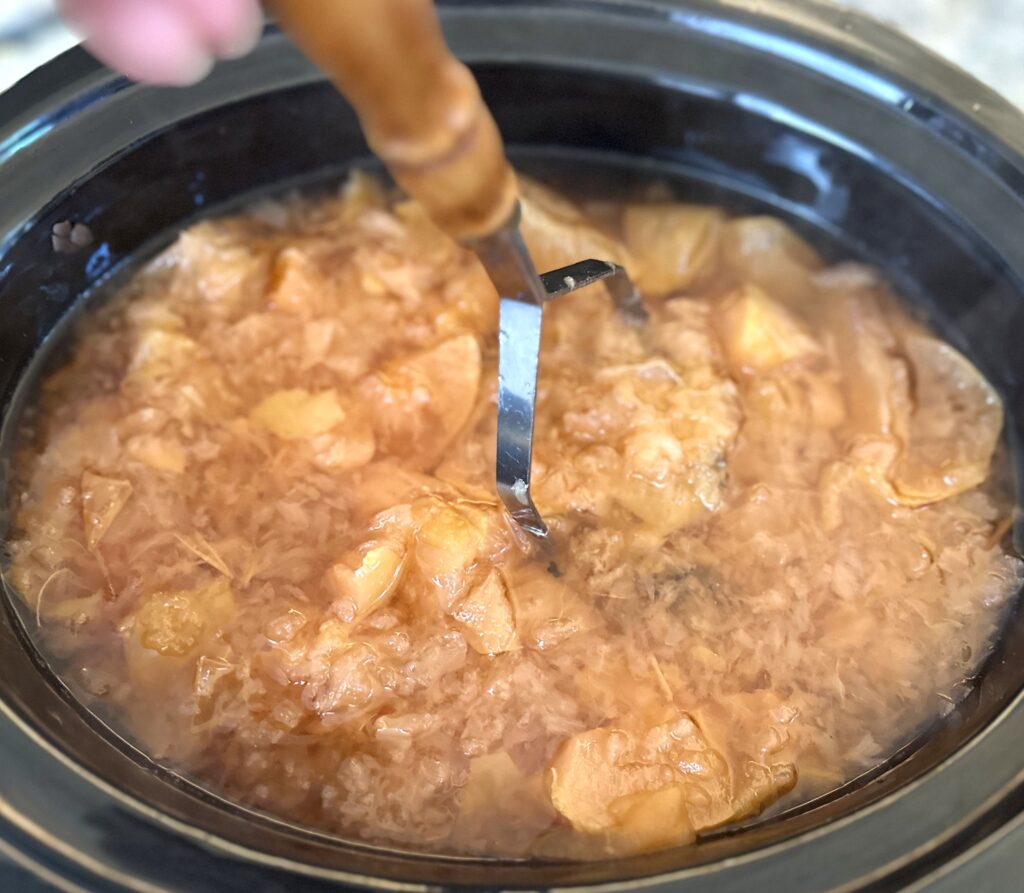
- After the initial cook time, uncover and mash the apples with a large potato masher until the fruit is well mashed.
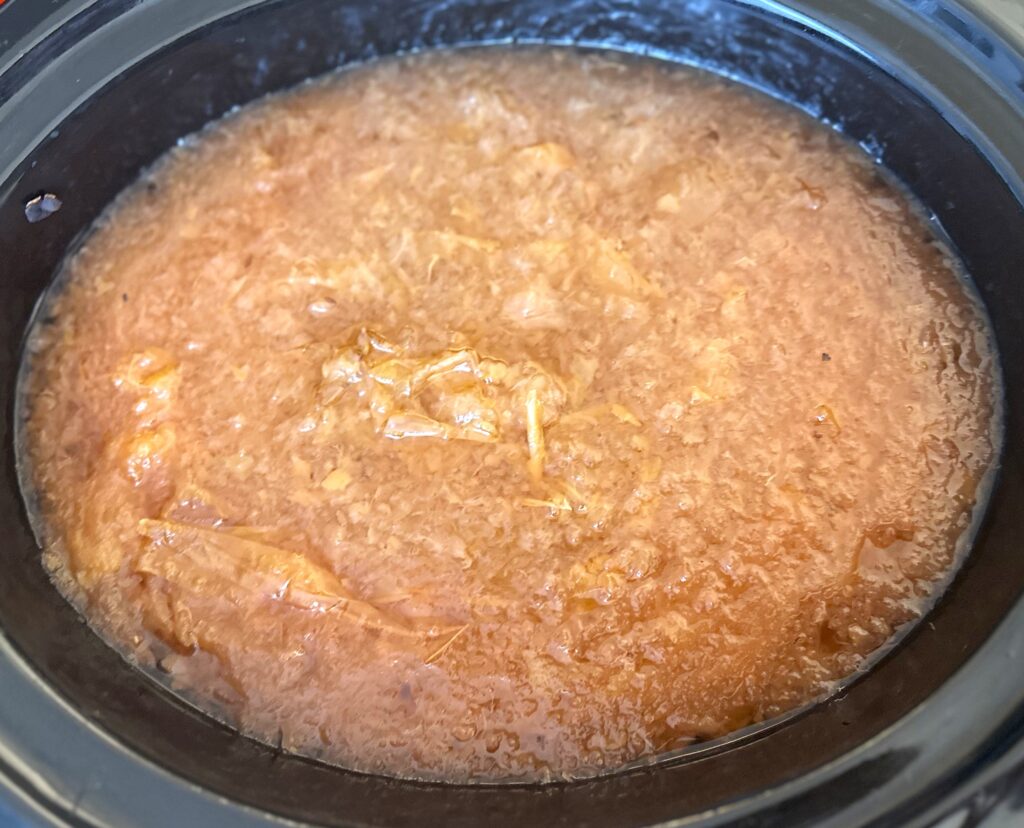
- Cover and cook on high for an additional 1 hour.
- Let the cider cool to a temperature that you can easily work with for straining.
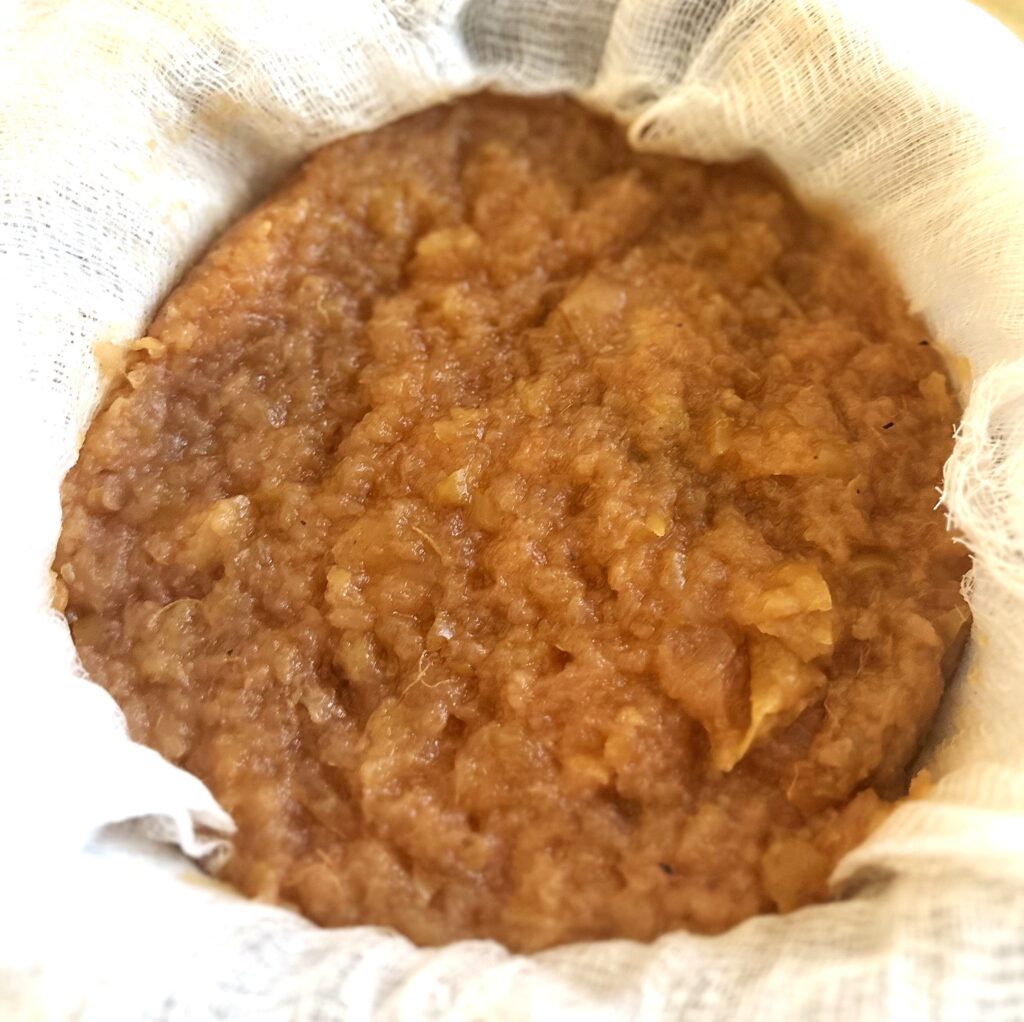
- Strain the thick apple mixture very slowly through a fine mesh strainer into a deep bowl or pot. I also like to add cheesecloth to the strainer so that I get a very smooth finished cider with no peel remaining.
- Strain a second time to catch any remaining solids.
- Pour into a heat-proof pitcher or ladle into cups.
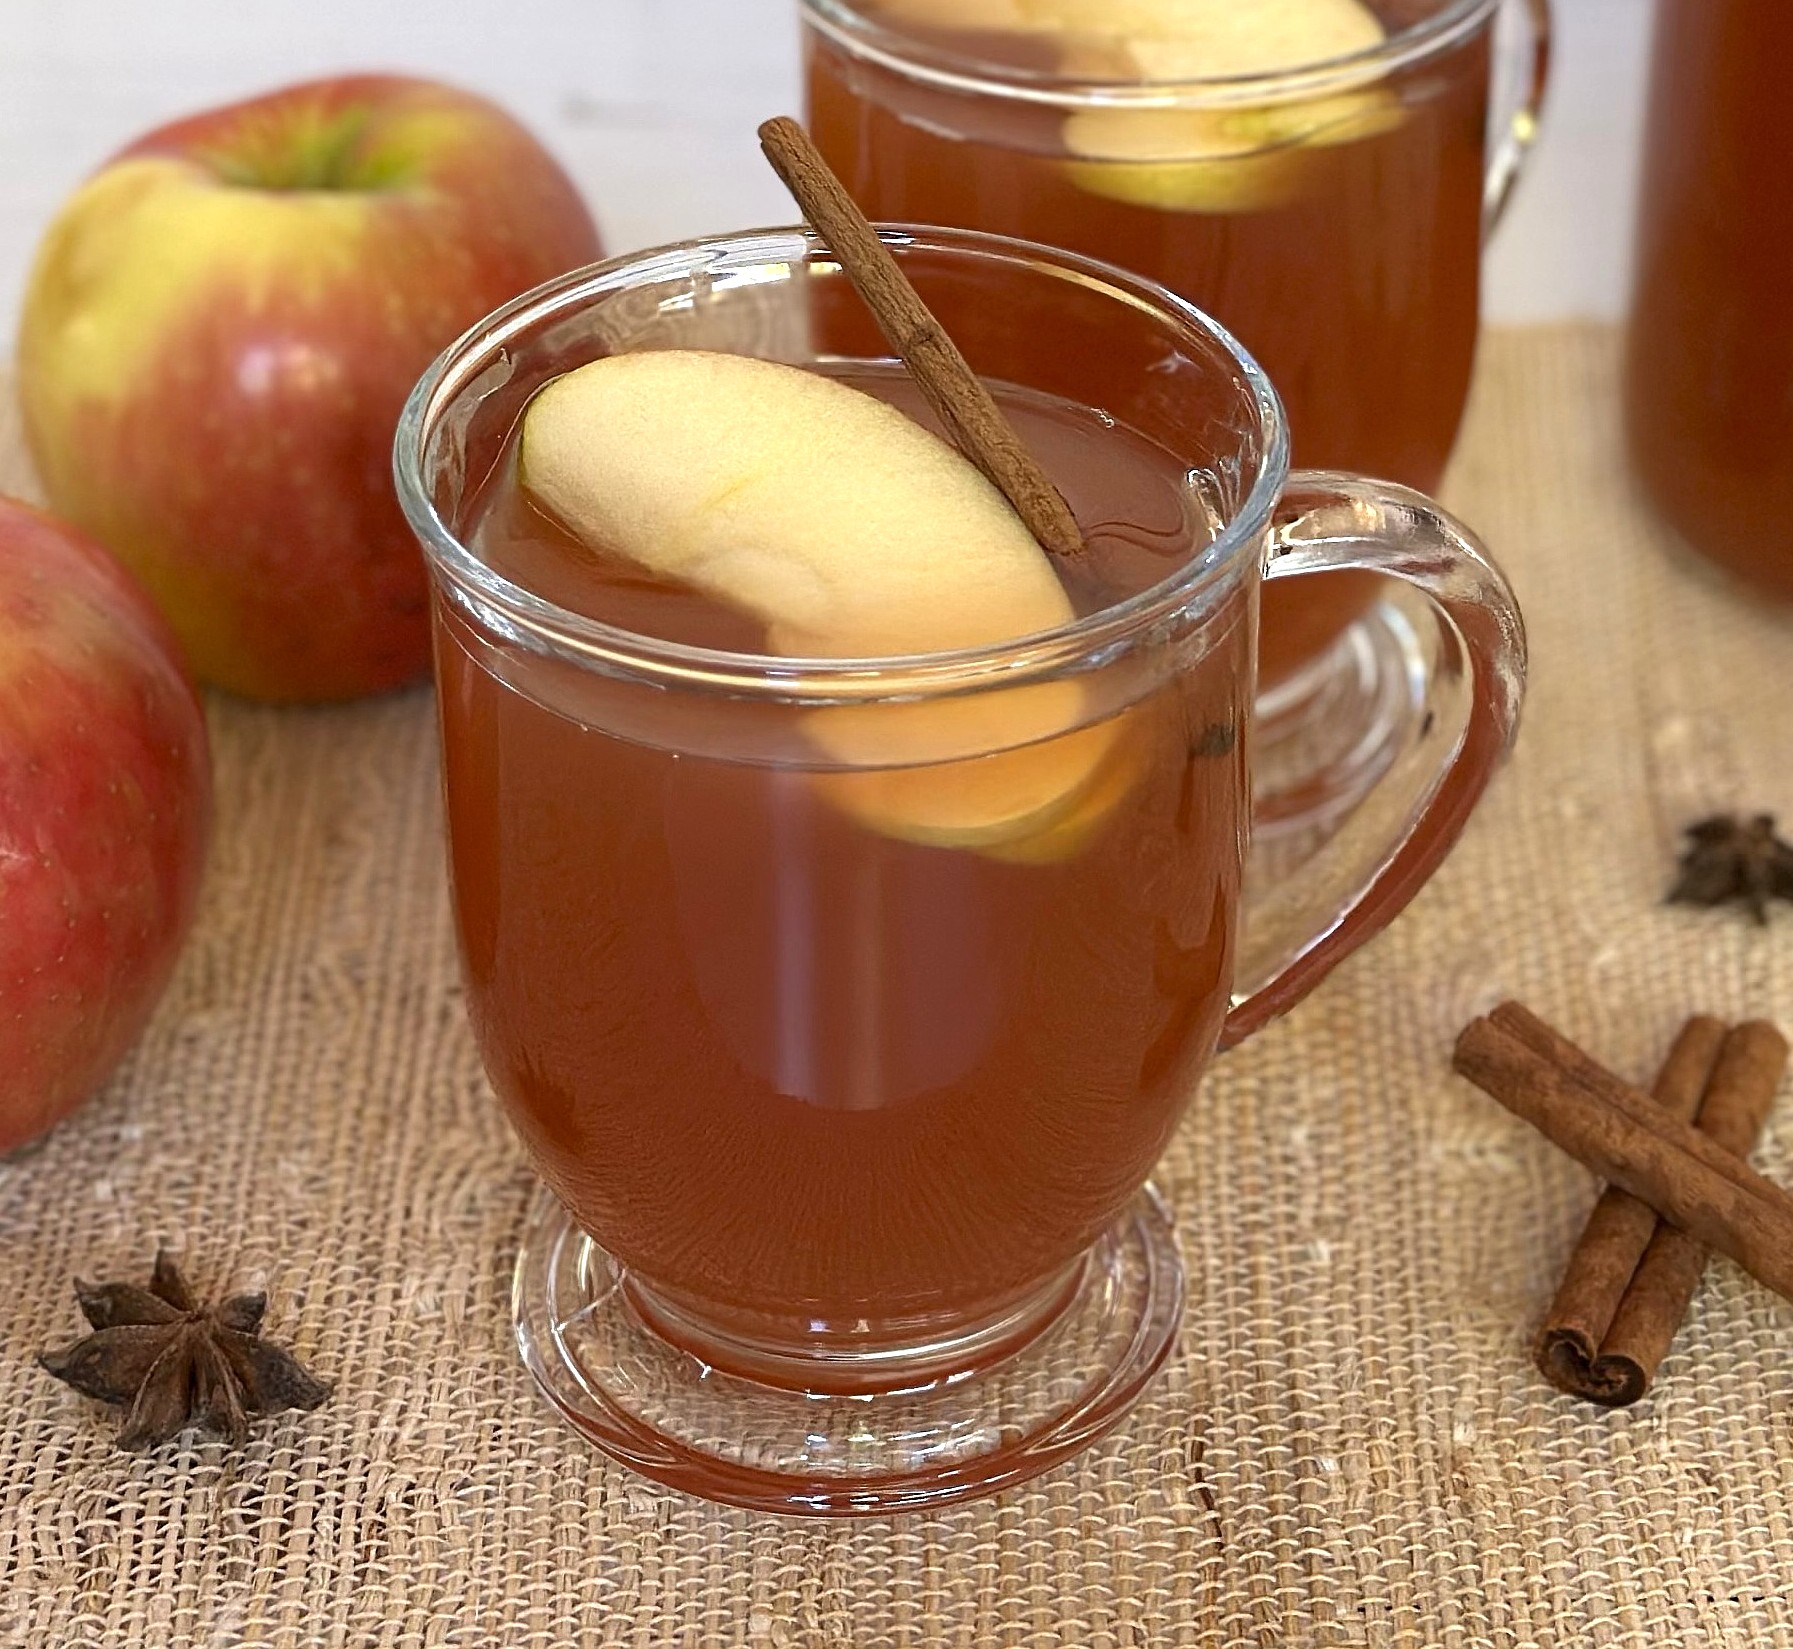
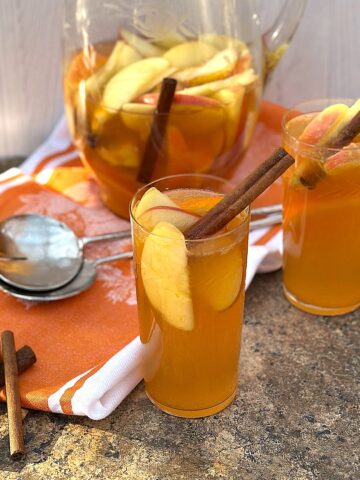
- Cider is ready to serve, warm with slices of apple and a cinnamon stick for garnish.
Cyndy's Stove-Top Cider
This method is quicker and takes about 3 hours start to finish.
- Wash the apples, core them, and cut each one into 6-8 pieces - no need to peel them.
- Place the ingredients in a deep stockpot (mine is 8 quarts) with cinnamon (I used ground cinnamon due to the shorter cooking time), brown sugar, nutmeg, and allspice.
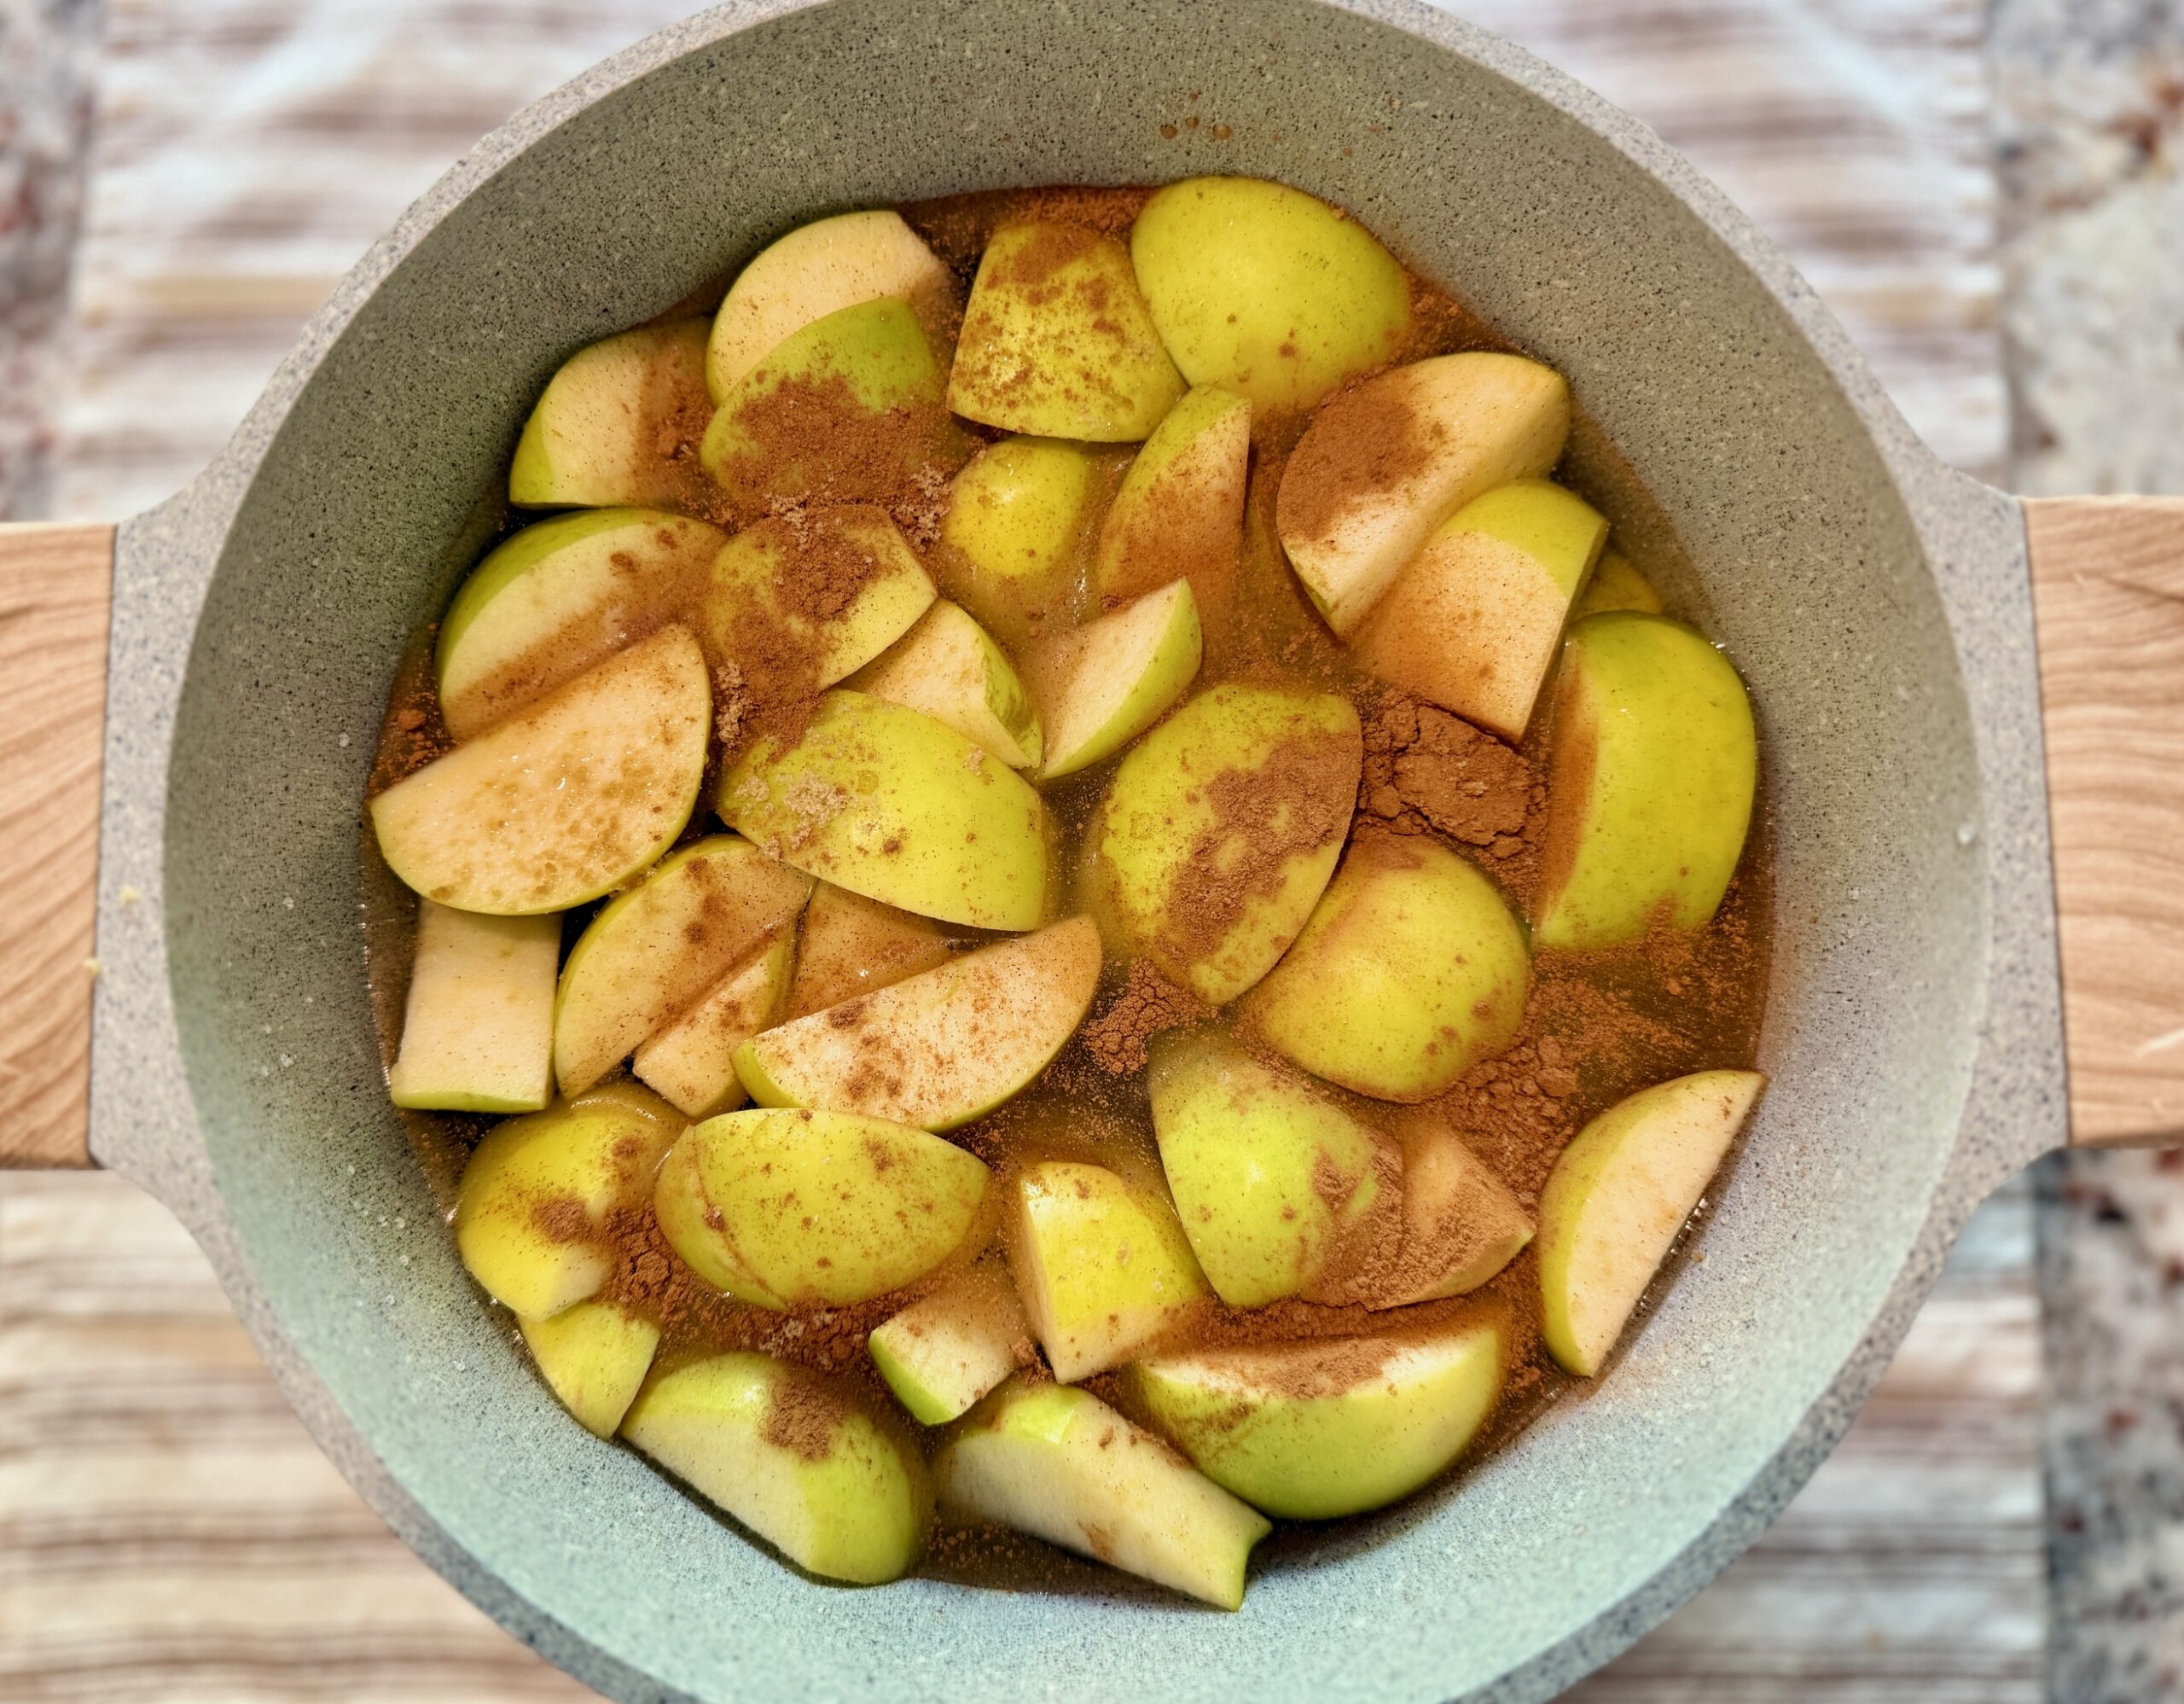
- Add enough water to cover the apples by 2 inches. The amount will vary depending on the size of your cooking pot. FYI: the apples will float and that's okay!
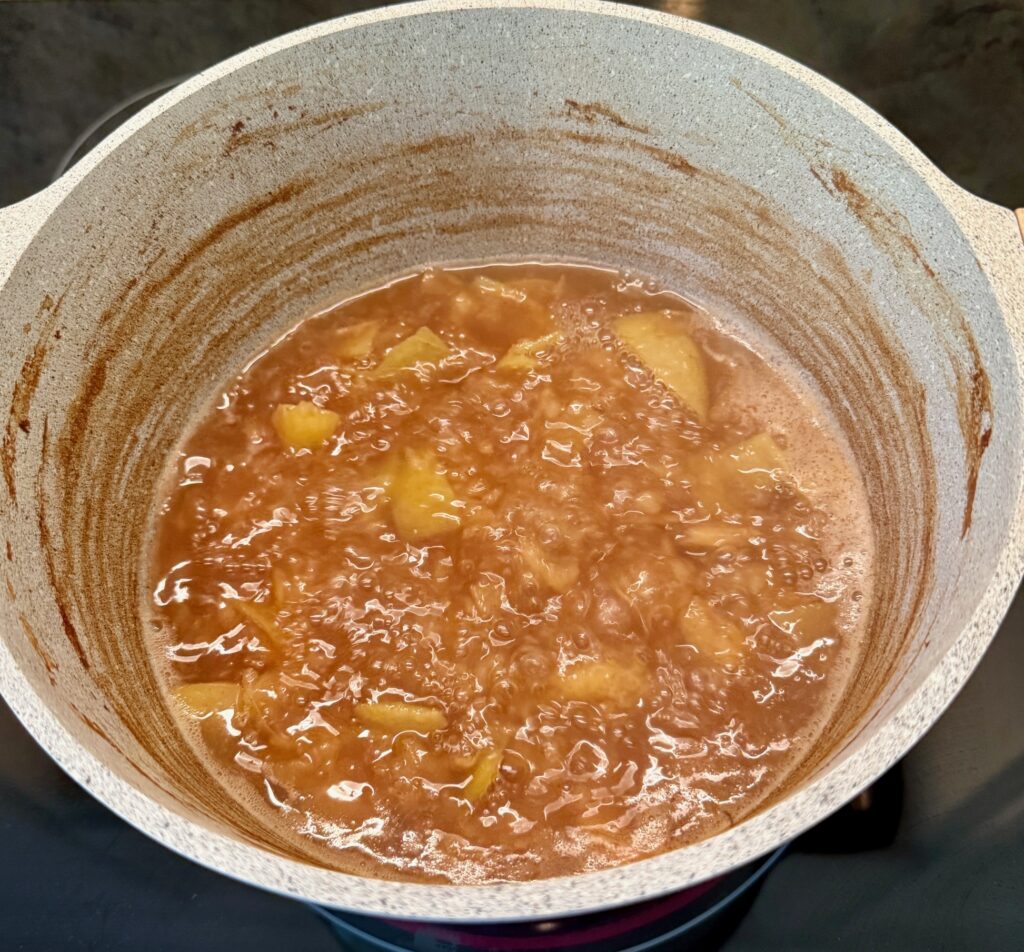
- Stir everything, and heat on high until the mixture comes to a boil.
- Boil gently, uncovered, for about one hour.
- Cover the pot, reduce the heat, and simmer for 90 minutes.
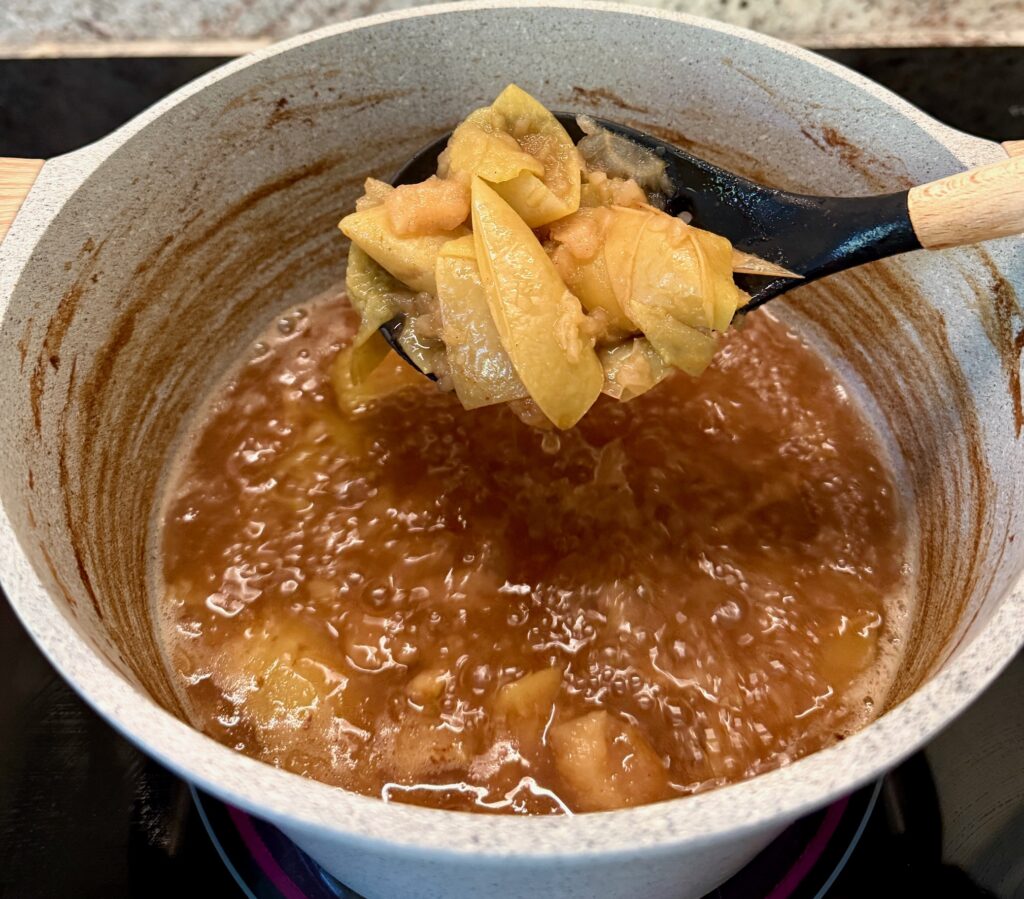
- Mash the mixture with a potato masher. It will be very soft and falling apart.
- Let the mixture cool down for about 15 minutes.
- Strain into a deep bowl or pot through cheesecloth or a very fine strainer, and gently press down on the solids. Put the solids aside and save them if you want them for another use. (Applesauce or apple butter, anyone?)
- Repeat the straining process.
- Ladle into mugs or pour into a heat-proof pitcher and serve!
Can I cook the cider with peeled apples?
- Yes! If you peel the apples before cooking, it will shorten the cooking time and make it easier to strain after cooking. Here are the changes for the stovetop version:
- Reduce the first boil to 40 minutes.
- Cook, covered, for 1 hour and then proceed as listed above.
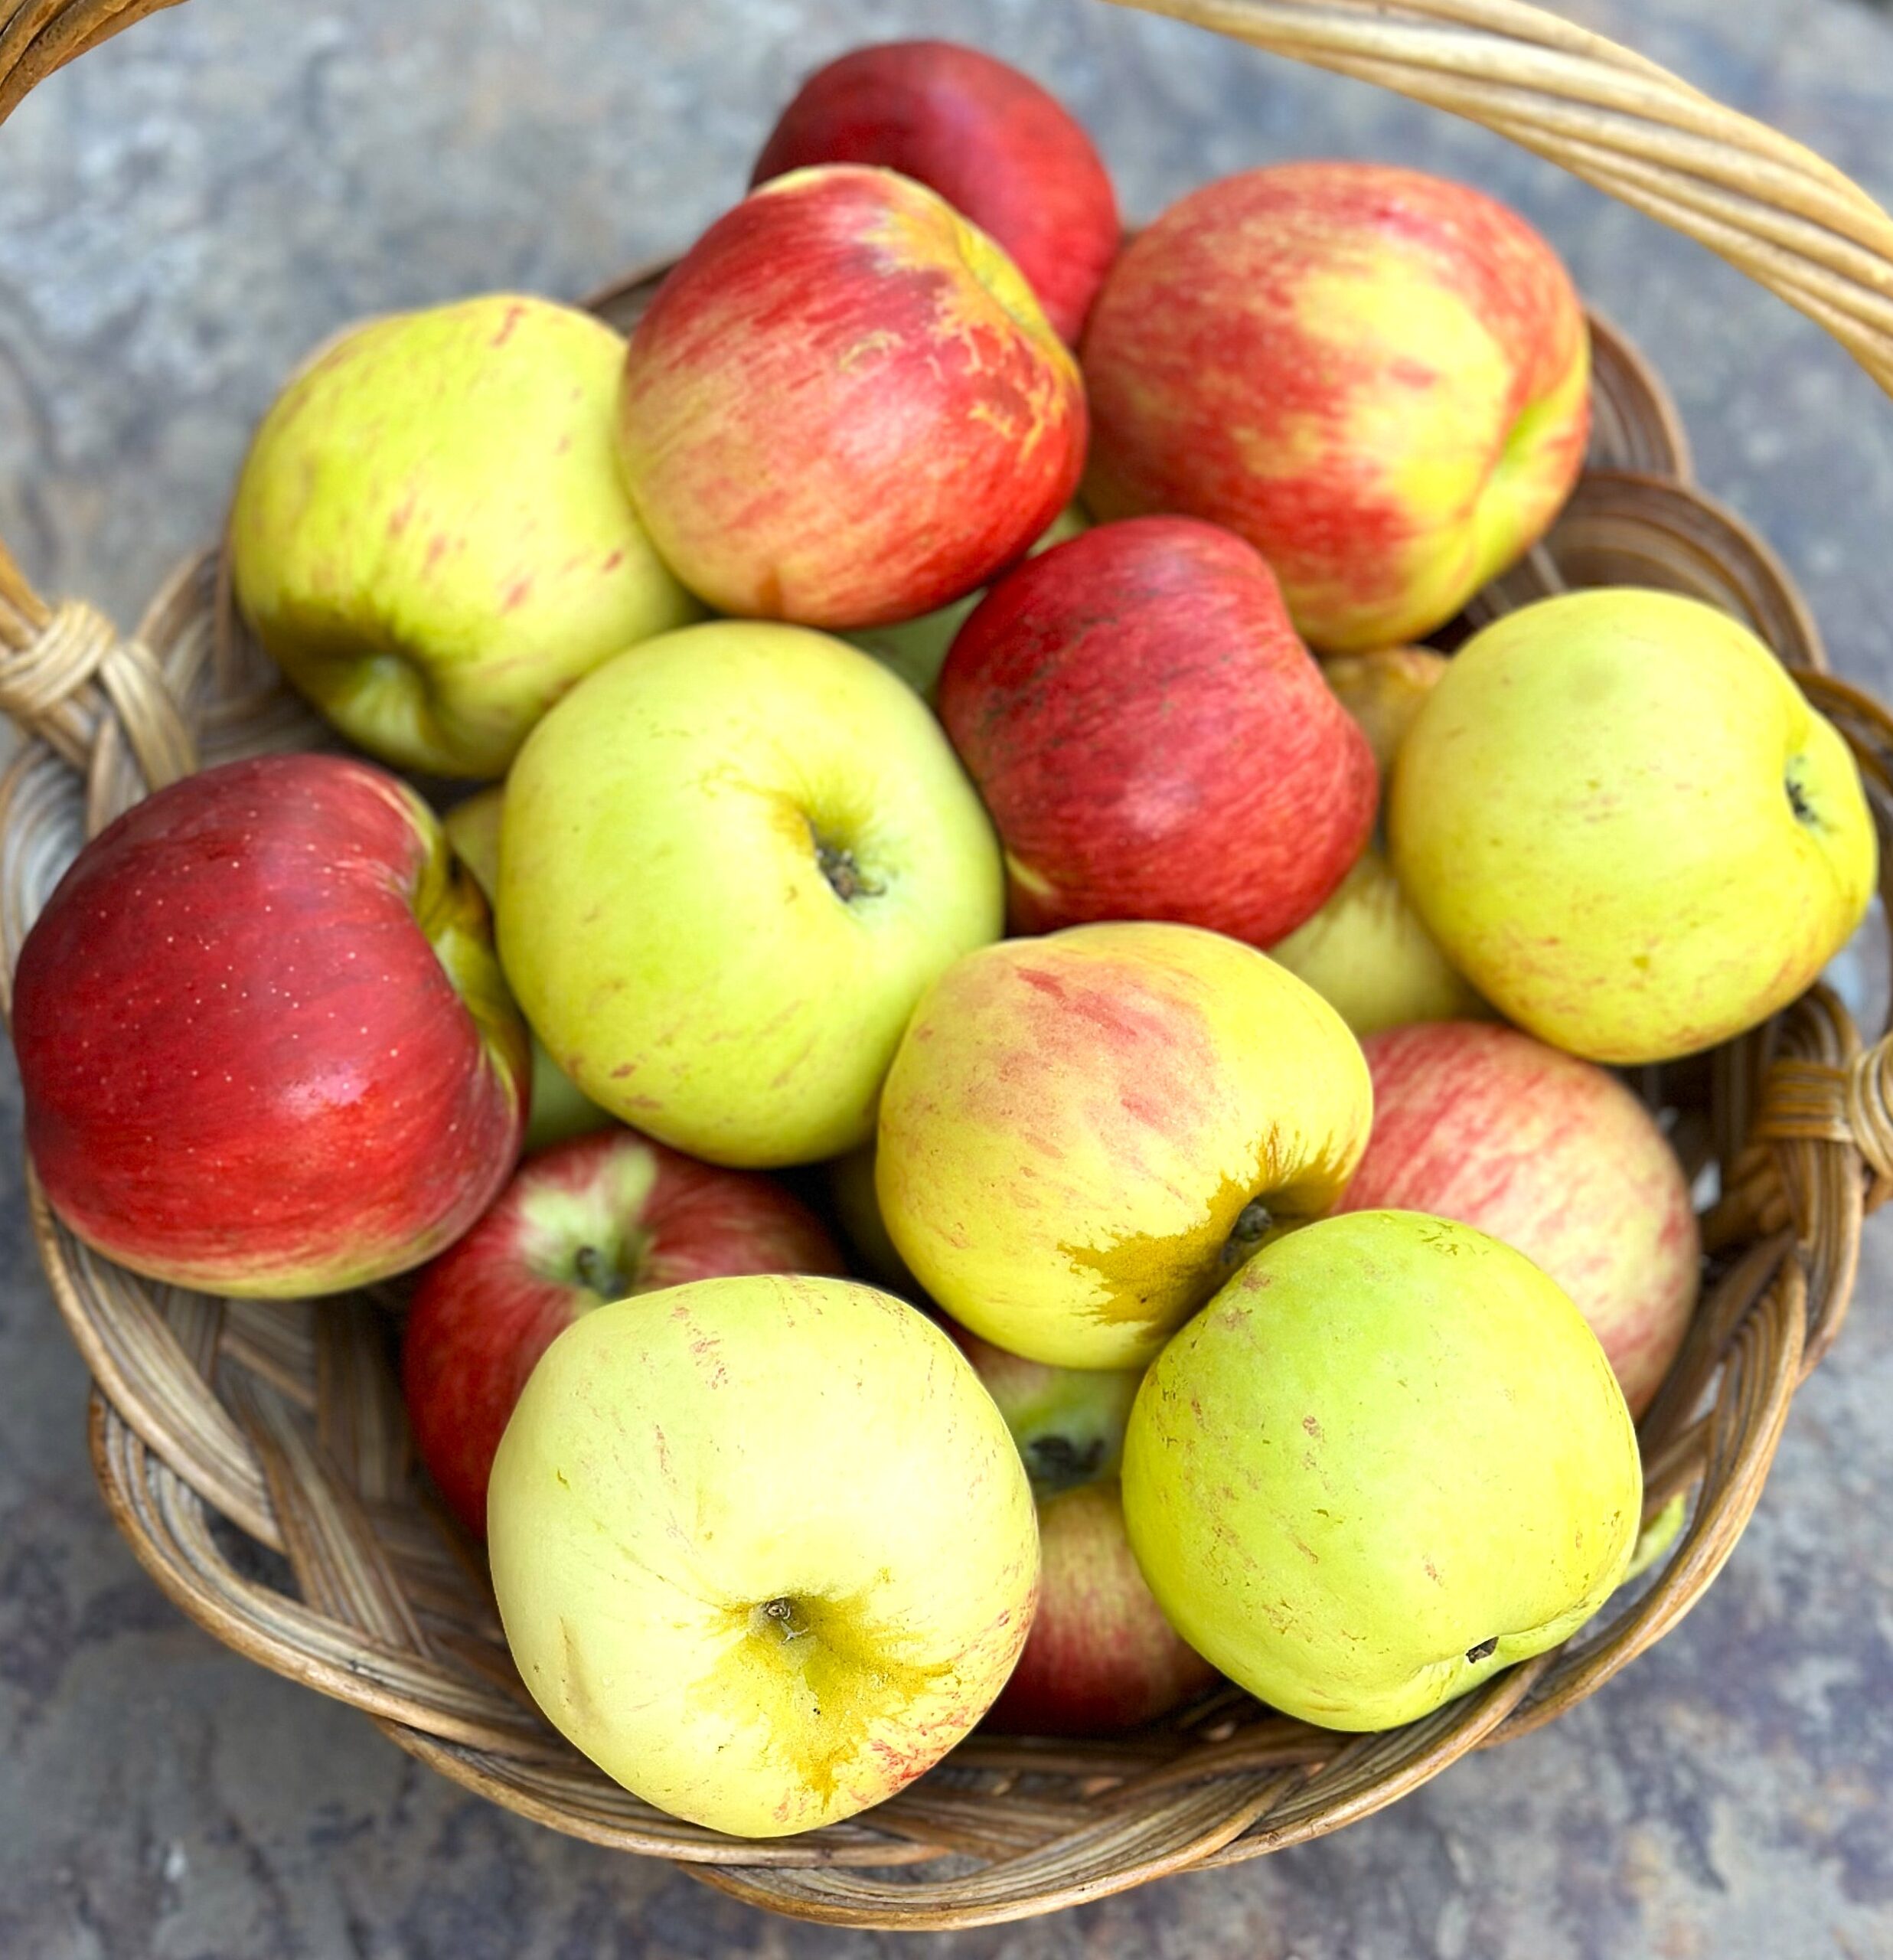
What are the best apples to use for Apple Cider?
The fall season brings us a wide variety of wonderful apples. We used apples with a sweet-tart balance of flavor. It is often recommended to blend a couple of apple varieties to achieve the best results. These varieties are our favorites.
- Gravenstein - These wonderful apples are great for pressing into cider or baking. They offer a sweet-tart, balanced flavor. The downside is that they have a very short season and are hard to find. But if you do grab them while you can.
- Honeycrisp - These famously delicious apples are crisp and juicy with that sweet-tart balance we are looking for in an apple. It is an excellent choice for ciders and baking.
- Jonagold - This is another wonderful apple with sweet-tart flavor. A cross with Golden Delicious, it is also great for baking as well as pressing into cider.
- Pink Lady - This beautiful apple offers a nice balance for cider and is referred to as a tart-sweet apple. It is also a wonderful addition to your apple pie.
Whole Spices vs. Ground Spices: What's the difference?
When deciding whether to use whole or ground spices, think about what you are cooking and the flavors you want to achieve, along with the convenience factors you are looking for to make an informed decision. Below are some guidelines.
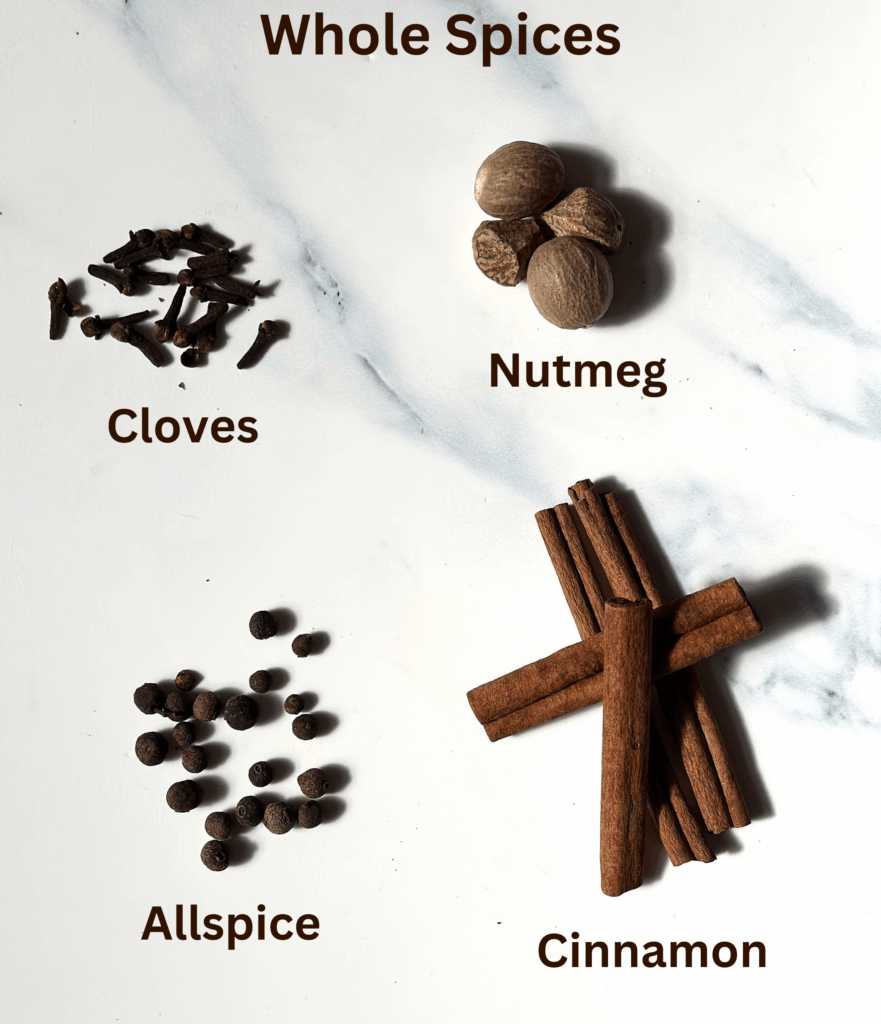
Whole Spices
Used primarily when you want maximum flavor and a high level of freshness. Whole spices are categorized as seeds, berries, sticks, or pods.
- These spices retain essential oils and have a more aromatic infusion within their structure. Mortaring or pre-grinding whole spices right before use releases their flavors and aromas more dynamically and intensely than a pre-ground/pre-packaged spice.
- They have a long shelf life and stay potent for up to 2 years because the essential oils remain protected within the hulls.
- Whole spices infuse their flavors best in dishes that require slow cooking or long simmering, like stews, soups, stocks, and braises. This allows their flavors to infuse into the liquid slowly and gently. You can easily remove them before serving.
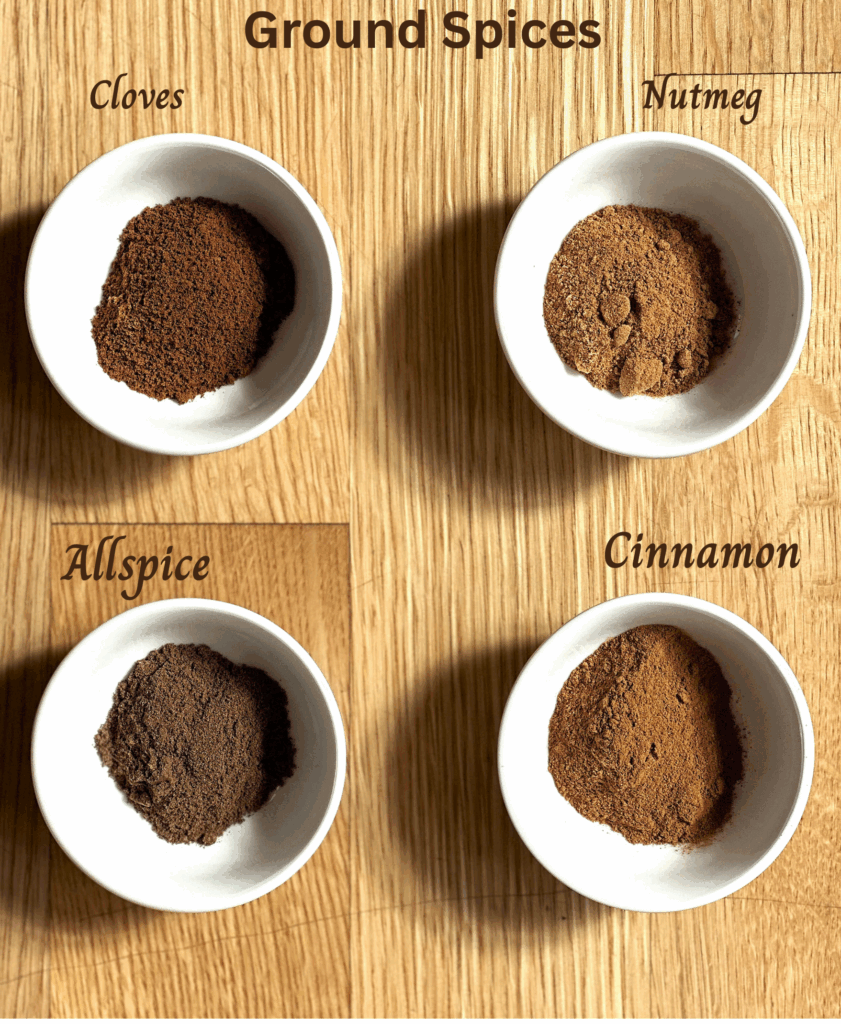
Ground Spices
- These spices are your time savers! They are quick and easy to use without grinding.
- You'll have immediate flavor, and they are best for quicker cooking dishes such as rubs, marinades, or even baked goods.
- When used in baking, they blend well in batters and doughs, ensuring an even distribution of spices and flavors.
- Pre-ground spices have a shorter shelf life than whole spices and are best used in the first 6 months after purchase.
How to Store Apple Cider
- Refrigerate - Seal and refrigerate for 7-10 days.
- Freeze - Use a plastic jug, jar, freezer bag, or air-tight container. Leave room in the container for expansion. Cider can be frozen for up to 12 months and thawed before using.
- Canning - Water bath canning is ideal for Apple Cider!
- Tips for canning: warm cider to 190°F and ladle into warm jars. Boil times for cider using a pint or quart-sized jar are 10 minutes. A half to one-gallon jar takes 15 minutes. Please see our water bath canning post for canning best practices, as canning takes precise instructions.
Did you enjoy our Apple Cider Recipe? We would love to hear from you in our comments below. Please feel free to comment on this or any other recipe on our blog. Your feedback helps us to develop more recipes for you to enjoy!
Want to Save This Recipe?
Enter your email & We'll send it to your inbox. Plus, get great new recipes from us every week!
By submitting this form, you consent to receive emails from The Art of Food and Wine.
Apple Cider Recipe
Equipment
- 1 Slow Cooker or large stock pot 6-8 quarts
- Masher
- Fine strainer or cheesecloth
Ingredients
- 10 to 12 Large Apples
- 4 whole Cinnamon Sticks (or 2 teaspoon ground cinnamon)
- 1 whole Nutmeg
- 2 whole Allspice
- ½ cup Light Brown Sugar
- Water enough to just cover apples and spices
Instructions
Jayne's Slow Cooker Cider:
- Rinse, core, and slice apples, or use an apple slicer. It’s okay to leave the skin on the apples.
- If possible, use whole spices for this recipe: one nutmeg seed and two allspice berries. Crack the seeds and berries open with a mortar and pestle.
- Place the apples in a slow cooker along with the brown sugar, nutmeg, allspice, and cinnamon sticks.
- Cover apples with water, with approximately 6 cups of water for a 6-quart slow cooker. The amount of water will vary depending on the size of your slow cooker.
- Cover the slow cooker and cook on high for 5-6 hours.
- After the initial cook time, uncover and mash the apple with a large potato masher until the fruit is well mashed.
- Cover and cook on high for an additional 1 hour.
- Let the cider cool to a temperature you can easily work with to strain.
- Strain the thick apple mixture very slowly through a fine mesh strainer into a large stockpot or deep bowl. Add cheesecloth to the strainer to get a smoother finished cider.
- Remove the solids from the strainer and do a second strain to catch any remaining solids.Pour into a heat-proof pitcher or ladle into cups.
- Cider is ready to serve, warm, accompanied by slices of apple and a cinnamon stick for garnish.
Cyndy's Stovetop Version:
- Wash apples, core, and cut each apple into 6-8 pieces - no need to peel them.Place in a deep stockpot (I use an 8-quart) with cinnamon (I used ground cinnamon because of the shorter cooking time), brown sugar, nutmeg, and allspice.
- Add enough water to cover the apples by 2 inches. The amount will vary depending on the size of your cooking pot. FYI: the apples will float and that's okay.
- Stir everything, and heat on high until the mixture comes to a boil.Boil gently, uncovered, for about one hour.
- Cover the pot, reduce the heat, and simmer for 90 minutes.
- Mash the mixture with a potato masher. It will be very soft and falling apart.Let the mixture cool down for about 15 minutes
- Strain into a deep bowl or pot through a cheesecloth or very fine strainer, and gently press down on the solids. Put the solids aside and save them if you want them for another use. Repeat the strain a second time.
- Ladle into mugs or pour into a heat-proof pitcher and serve!
Notes
- Refrigerate - Seal and keep refrigerated for 7 -10 days.
- Freeze - Use a plastic jug, jar, freezer bag, or air-tight container. Leave room in the container for expansion. Cider can be frozen up to 12 months and then thawed.
- Canning Recipe - Water bath canning is ideal for Apple Cider.
- Tips for canning: warm cider to 190°F and ladle into warm jars. Boil times for cider using a pint or quart-sized jar is 10 minutes. A half to one-gallon jar takes 15 minutes. Please see our water bath canning post for canning best practices, as canning takes precise instructions.


Sherry Arledge
This apple cider is refreshing & absolutely delicious!!! Perfect for the holidays!!!
Jayne
Thank you Sherry, our cider is easy to make.
Jayne