

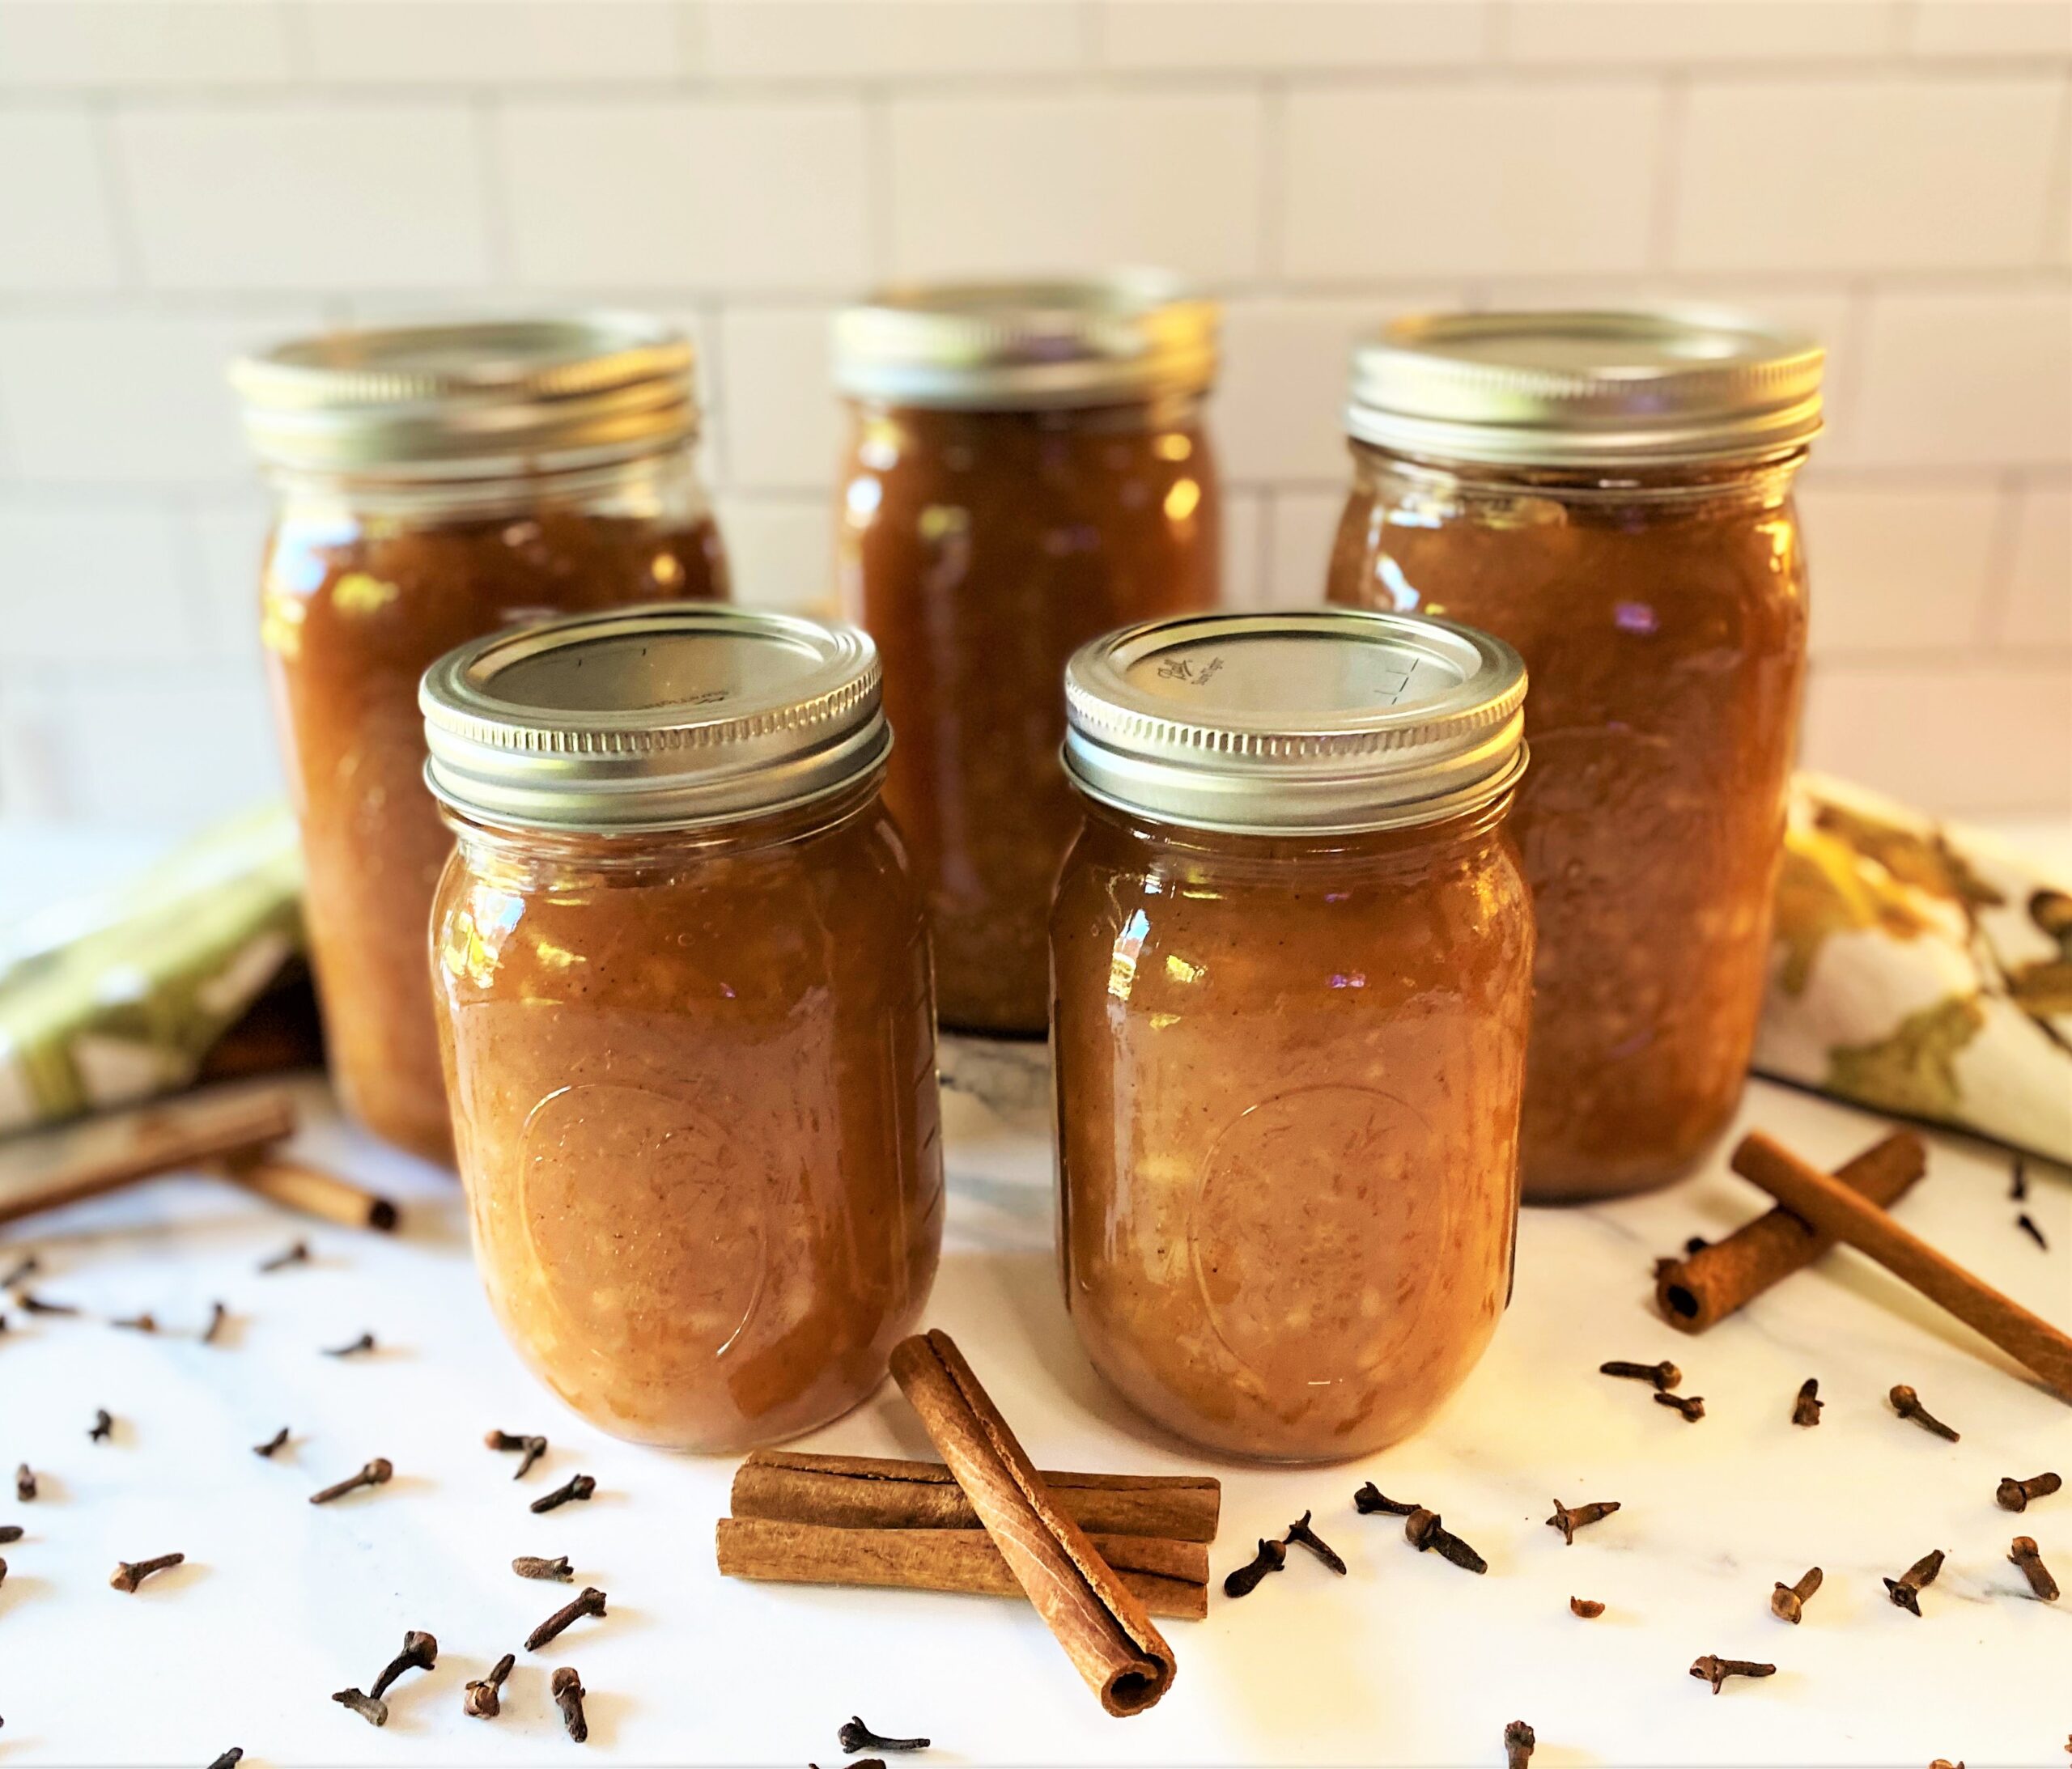
Water bath canning or "hot water canning" is an excellent way to preserve high acid fruits and vegetables. It is a straight forward and easy process.
Canning is so easy. You too "can" do this!
Fruits, jams, salsas, most tomatoes, pickles, and chutneys are among the foods that can be safely preserved using this simple method.
When canning any food please make sure your work surfaces is clean and sterile. All equipment used for the canning process must be washed in very hot, soapy water.
As you get started, prepare the equipment you will be using, wash your canning area, and prepare your canning kettle. Do this first.
Now you are ready to prepare the food you will be canning. Have recipe prepared and ready prior to starting this easy step by step water bath canning method.
Jump to RecipeThis post may contain affiliate links. Please see our affiliate disclosure for more details.
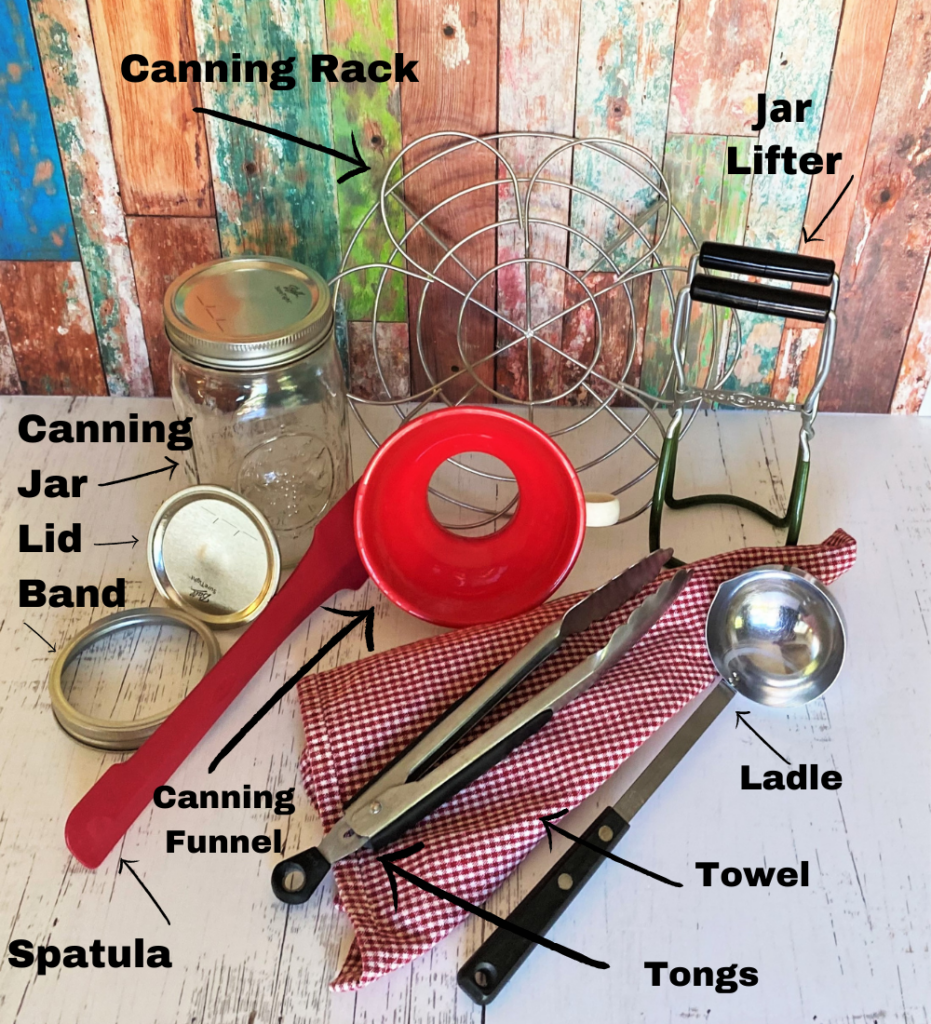
Equipment you will need for Water Bath Canning
- Canning kettle or large deep stockpot with a lid, and a rack that fits inside. The rack is necessary to keep the jars stable and upright while in the "bath". The jars should not be directly touching the bottom of the pot.
- Glass canning jars, lids and bands. Previously used glass jars are ok to use but always use new jar lids. Check glass jars to make sure they are not chipped, or uneven, because this will prevent a proper vacuum seal during canning.
- Kitchen utensils needed - spatula, ladle, tongs, and a dry towel.
- Jar lifter - see recommendation and photo below
- Canning Funnel - this is a large funnel with an expanded opening to fill jars easily and keep the jar rims clean.
- Of course! Have your recipe finished and ready before canning!!
If you are just getting started or are new to the process of water bath canning here is a link for a terrific starter kit you can order. This is the equipment needed for your success and it's reasonably priced!
Our recommended canning kettle and rack combo is the McSunley Stainless Steel Water Bath Canner with Rack
The Norpro Canning Essential 6-piece set includes all the canning utensils you will need in one easy set
Don't forget complete canning jars, lids and bands. We like these six 16-ounce mason jars with silver bands and lids which is enough for one batch of this recipe.
How do you do a water bath for canning? Here are step by step instructions:
Follow this easy step by step guide for Water Bath Canning.
Step One:
- Wash all equipment you will be using for canning in hot, soapy water. Dry and set aside.
- Fill kettle or stockpot half full of water, add the rack and the empty canning jars. Heat water to 180˚ F to warm the jars. This will prevent the jars from cracking or breaking when you add finished warm fruit or other food.
- In a shallow saucepan place the lids and bands. Cover with water and warm on low heat. Do not heat water to the point that you cannot handle the lids and bands safely and easily.
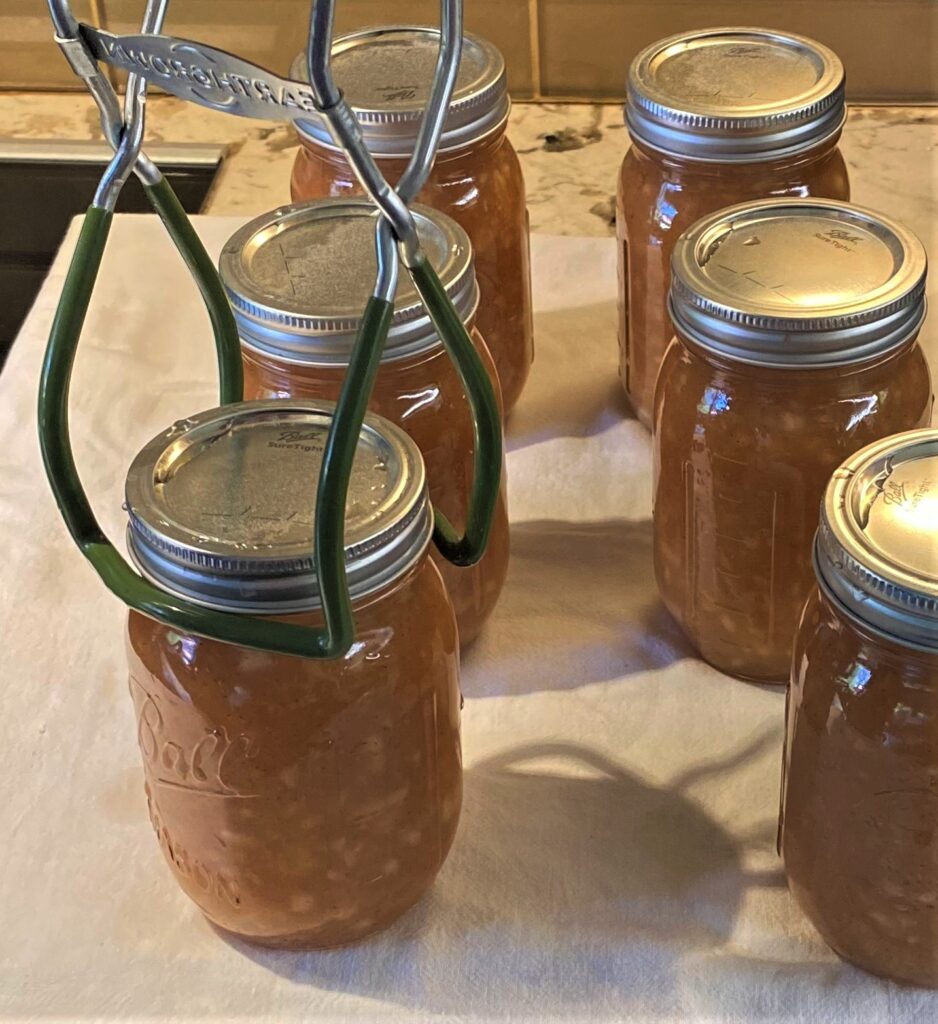
- With the jar lifter or tongs remove the warm jars from heated water in the kettle. Drain any remaining water from jar. Place on a clean towel.
- Place the canning funnel on the jar opening. Add in prepared food one ladle full at a time. Leave about one inch of space from the top of the jar to the food. It's important not to overfill because you need leave room for expansion.
- Remove any air bubbles by running a spatula around the inside of the jar.
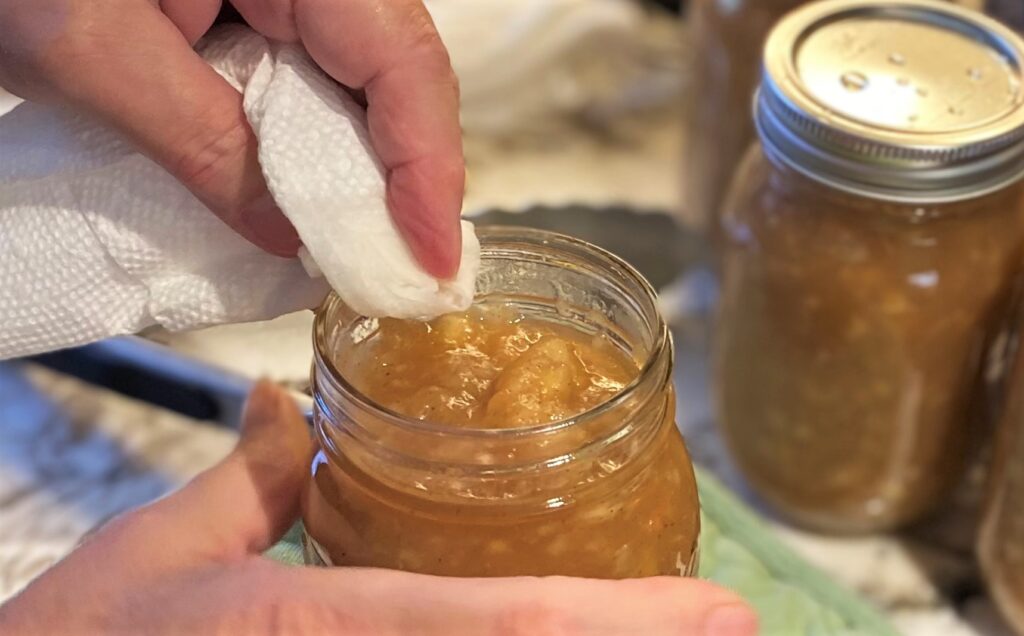
- Remove canning funnel. With a warm wet paper towel, clean any food residue from the mouth edges of the jar. This will allow for a tight vacuum seal.
Part Two:
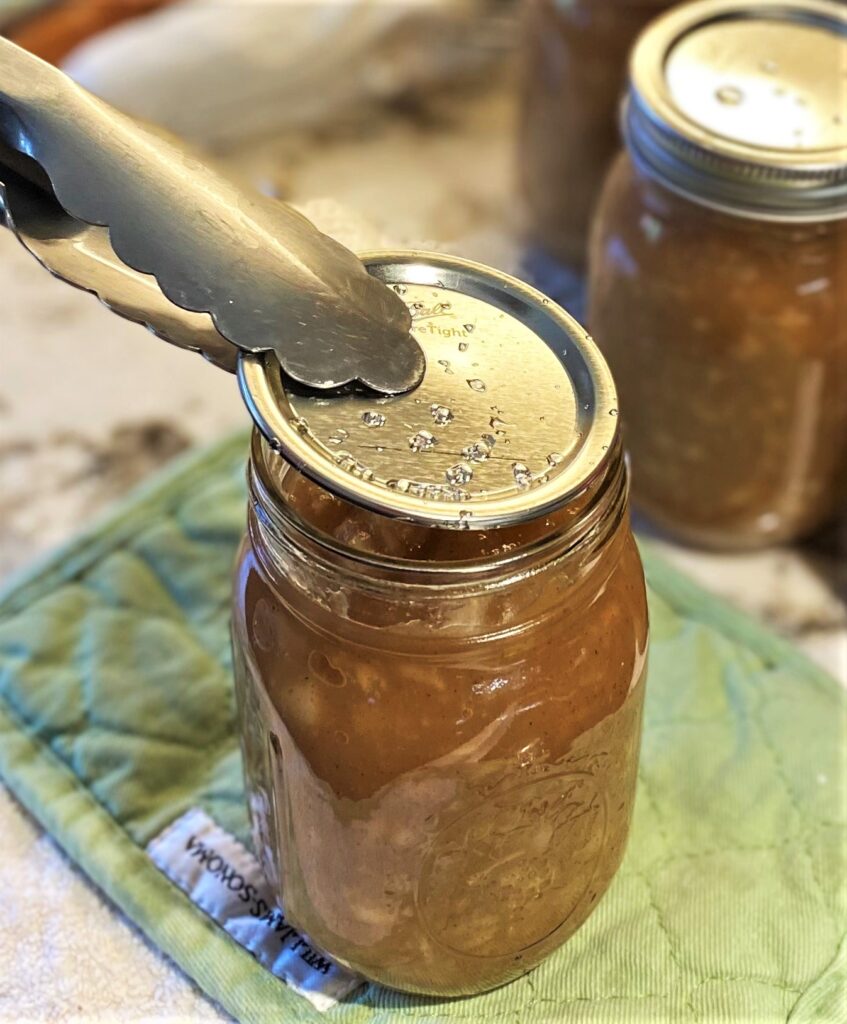
- Place warm lid onto the jar. Add band and twist on to seal tightly. Set aside.
- Complete the same process for all remaining jars.


- Use the jar lifter to place each jar into water kettle and onto the rack. If needed add more hot water to fully cover at least 2" above the top of the jars. Bring water to a boil.
- Boil jars at a steady, gentle boil. Boil 25 minutes for pints and 30 minutes for quart sized jars. This is a general rule. Cooking times will vary for different foods. Always refer to the individual recipe for canning cook times.
- Remove jars from water with the jar lifter and place on a towel right side up.
- Let jars rest for 12 to 24 hours. When a jar is properly sealed you will hear a small popping sound. The lid will move inward and seal is complete.
Checking the finished process
There are three ways to check for a proper seal. "Hear the Seal, See the Seal, and Feel the Seal". Again, this process can take 12 to 24 hours so be patient with your jars.
- While jars are resting, after removing them from the water bath, you will hear a pop, one by one, as the jars start to seal.
- Press your fingers over the middle of the jar lid. You should feel a solid surface on the lid. There should be no movement in or out, or up and down.
- Look at the jars to visually see the indent to the jar lid.
- If any jars do not seal properly then place them in the refrigerator immediately and enjoy the food within the next week to 10 days.
How water bath canning works to prevent food spoilage
It is a common fact that food will spoil, and all food spoils at some point. Microorganisms such as mold, yeast and bacteria are always in the air, water, soil, and on most foods. The goal of water bath canning is to stop the action of these microorganisms.
With the proper application of water bath canning, the heat to the jar of food will cause an airtight seal. This prevents any organisms from entering the jar. This will allow you to safely store your food for up to 18-months.
Making sure all of your canning jars have properly sealed is the most important step in home canning food!
How to best store your canned foods
- Store jars right side up
- Find a cool, dark space on a sturdy shelf
- Avoid areas with sunlight, dampness or drafts.
- The best temperature for storing home canned foods is between 50˚ to 70˚ F.
Other foods that are good for "hot bath" canning
High-acid foods and acidified foods can be safely "hot bath" canned. If canning high acid fruit we like to use a bit of Ball brand Fresh Produce Protector to prevent discoloration of cut fruit while prepping.
- Most any fruits - peaches, pears, cranberries, berries, plums, apricots
- Jams, jellies, preserves, marmalades, chutneys
- Tomatoes, tomato sauces, salsas
- Pickles and pickled fruits and vegetables
- Relishes
- Homemade Ketchups and Sauces
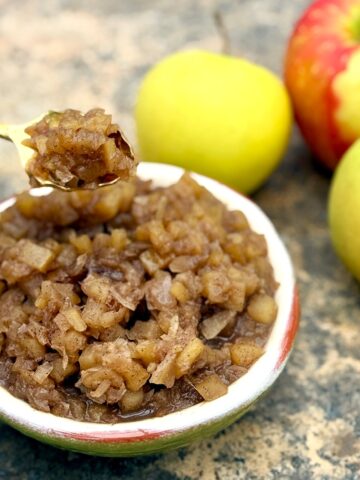
- Our favorite is our Homemade Apple Sauce recipe which is easy and loaded with flavor
Want to Save This Recipe?
Enter your email & We'll send it to your inbox. Plus, get great new recipes from us every week!
By submitting this form, you consent to receive emails from The Art of Food and Wine.
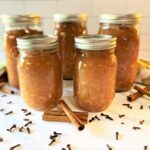
Water Bath Canning
Equipment
- Canning kettle or large stockpot with lid
- Canning rack
- Canning utensils
- Canning jars, lids and bands
- Kitchen towel
Ingredients
- 1 teaspoon Fresh Produce Protector, such as Ball brand, if canning acidic fruit
Instructions
- Wash all equipment you will be using for canning in hot, soapy water. Dry and set aside.
- Fill kettle or stockpot half full of water, add the canning rack and the empty canning jars. Heat water to 180˚F to warm the jars. This will prevent the jars from cracking or breaking when you add finished warm fruit or other food.
- In a shallow saucepan place the lids and bands. Cover with water and warm on low heat. Do not heat water to the point that you cannot handle the lids and bands safely and easily.
- With the jar lifter or tongs remove the warm jars from heated water in the kettle. Drain any remaining water from jar. Place on a clean towel.
- Place the canning funnel on the jar opening. Add in prepared food one ladle full at a time. Leave about one inch of space from the top of the jar to the food. It's important not to overfill because you need leave room for expansion.
- Remove any air bubbles by running a spatula around the inside of the jar.
- Remove canning funnel. With a warm wet paper towel, clean any food residue from the mouth edges of the jar. This will allow for a tight vacuum seal.
- Place warm lid onto jar. Add band and tighten well. Set aside.
- Complete this process for all remaining jars.
- Use the jar lifter to place each jar into water and onto the rack. Fill the water level to fully cover all jars with water. Bring water to a boil.
- Boil jars at a steady, gentle boil for 25 minutes for pints, and 30 minutes for quarts. This is a general rule. Cooking times will vary for different foods. Always refer to the individual foods recipe for canning cook times.
- Remove jars from water with the jar lifter and place on towel right side up.
- You have three ways to check for a proper seal:"Hear the Seal, See the Seal, Feel the Seal" This process will take 12 - 24 hours.
- Let jars rest for 12 - 24 hours. When jars are properly sealed you will hear a small popping sound. The lid will very slightly move inward.
- After 24 hours press your fingers over the middle of the jar lid. You should feel a solid surface on the lid. There should be no movement in or out, or up and down.
- Look at the jars to visually see the indent to the jar lid.
- For jars that do not seal properly place them in the refrigerator right away and enjoy the food within the next week to 10 days.
- Store jars right side up in a cool, dark space with a sturdy shelf. Avoid areas with sunlight, dampness or drafts.
- The best temperature for storing home canned foods is between 50˚ to 70˚F

Leave a Comment or Suggestion